- Software Working Process
- User Interface
Software Working Process
1: Open the OLM Converter Tool on your system, making sure to run it with administrator privileges for proper access and functionality.
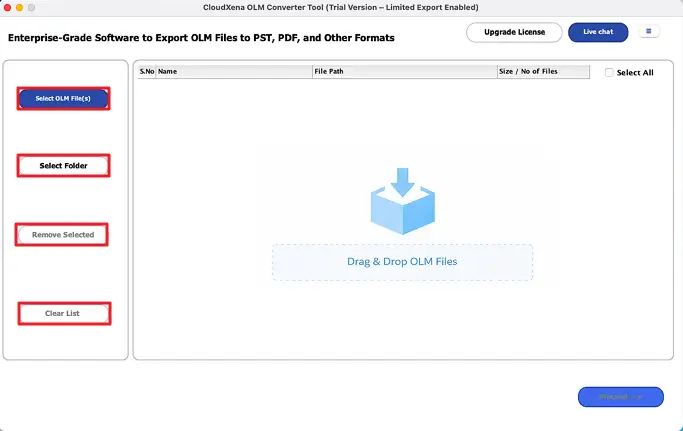
2: Go to the File Selection section in the tool, then click on Select OLM File(s) to add individual files or choose Select Folder if you want to load multiple OLM files at once.
If you accidentally add the wrong files, you can use Remove Selected to delete specific items or click Clear List to remove everything from the list.
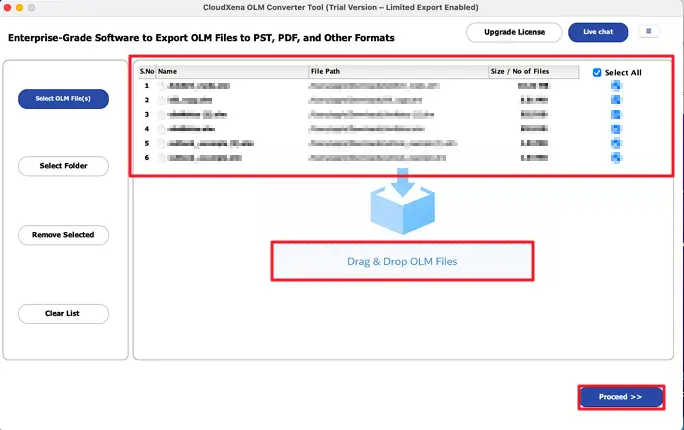
3: Browse and select the desired OLM files or folders from your system, then click on Open to add them to the software wizard. You can also simply drag and drop the OLM files directly into the tool for quicker access. Once the files are added, click Proceed to continue.
4:After adding the file, click on Expand All Folders to view all the files and folders within it. If you’re looking for something specific, use the Search Folders option to quickly find a folder by entering a keyword.
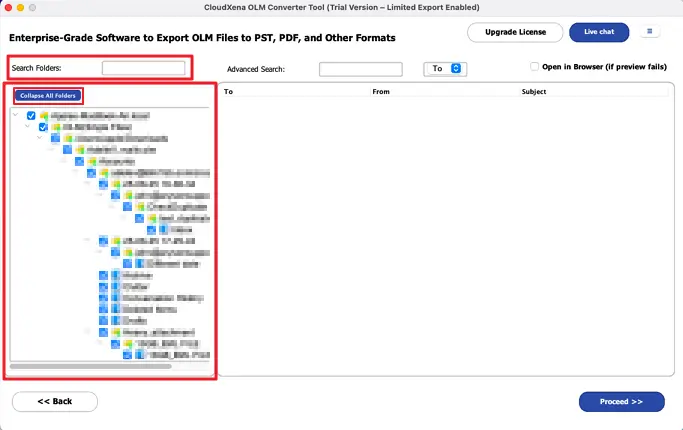
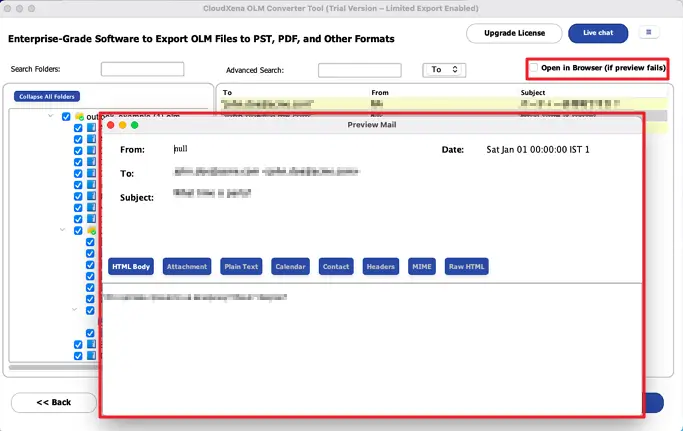
5: Use the advanced preview panel to view the data from the added files within the software. If the preview does not display properly or you prefer to check it online, enable the Open in browser (if preview fails) option to review your OLM data before starting the conversion process.
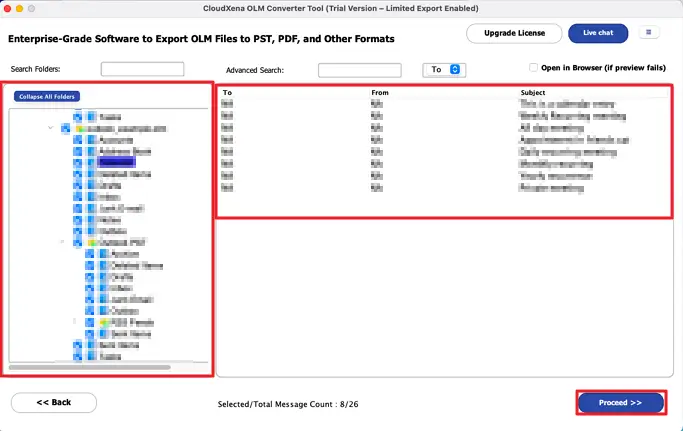
6: Select the required files and folders from the expanded tree structure. If needed, click on Collapse All Folders to simplify the view. Once you’ve made your selection, click Proceed to continue to the next step.
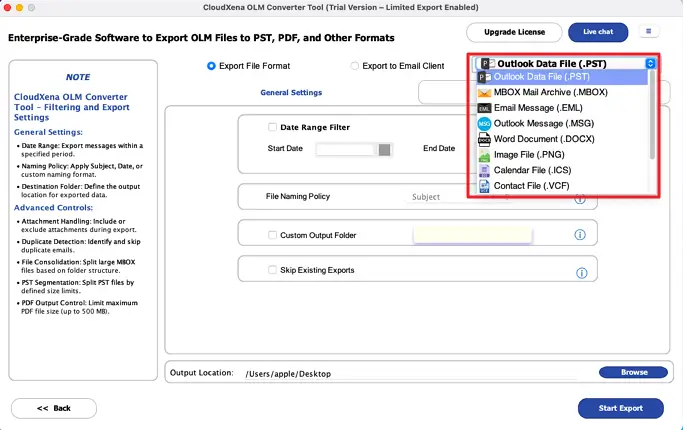
7: Choose the desired output file format from the available options, such as Outlook Data File (.PST) or any other format listed in the software. Select the format based on your requirements before proceeding further.
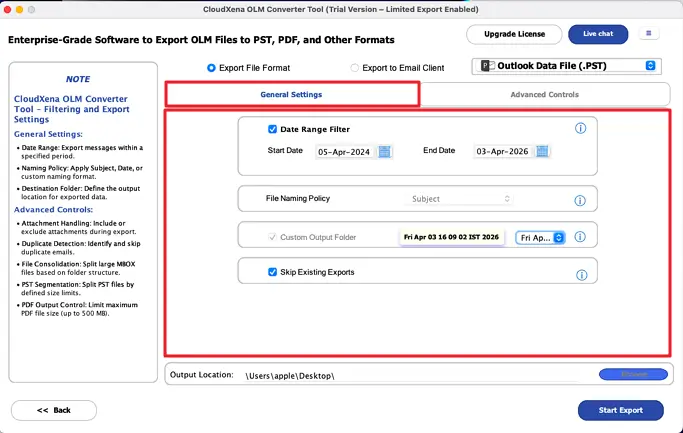
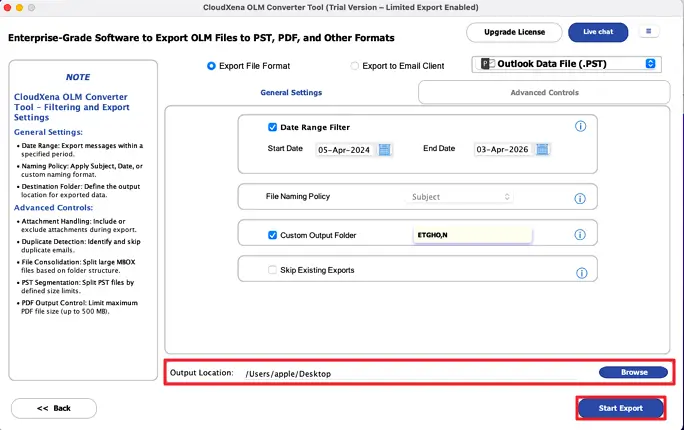
8: After selecting the output format, you can apply General Settings to refine your export:
- Enable the Date Range Filter to export emails within a specific time period by setting the Start Date and End Date.
- Use the File Naming Policy to define how the exported files will be named (e.g., subject-based naming).
- Choose a Custom Output Folder if you want to save the converted files in a specific location.
- Check the Skip Existing Exports option to avoid duplicate conversions of already exported files.
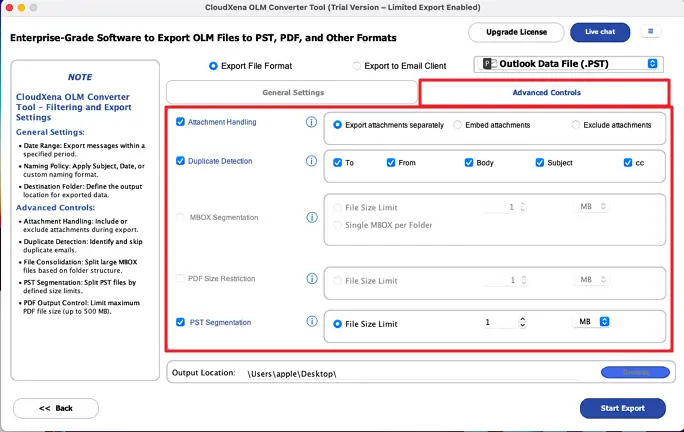
9: In the Advanced Controls section, you can fine-tune how your data is exported with additional settings:
- Use Attachment Handling to decide how attachments are managed. You can choose to export attachments separately, embed them within emails, or exclude them completely.
- Enable Duplicate Detection to avoid exporting repeated emails by filtering them based on fields like To, From, Subject, Body, and CC.
- Apply PST Segmentation to split large PST files into smaller sizes by setting a file size limit, making them easier to store and manage.
You can further customize the export process with these additional options:
- MBOX Segmentation allows you to break large MBOX files into smaller parts by setting a file size limit or choosing Single MBOX per Folder. This helps in managing large amounts of data more easily.
- PDF Size Restriction lets you control the size of exported PDF files by defining a maximum file size limit, ensuring the output files remain manageable and easy to share.
Some filters are only available for their respective file formats.
10: Choose the destination path by clicking on the Browse button and selecting the location where you want to save the converted files. After setting the path and reviewing all selected options, click on the Convert or Start Export button to begin the conversion process.
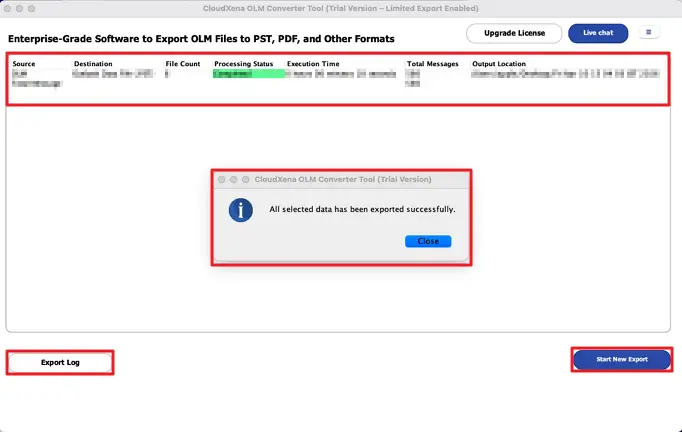
11: Once the conversion is complete, the software will display a confirmation message indicating that all selected data has been exported successfully
You can view a detailed summary at the top, including Source, Destination, File Count, Processing Status, Execution Time, Total Messages, and Output Location.
If needed, click on the Export Log button to review the complete report of the conversion process. To perform another conversion, simply click on Start New Export.
Activate the Software
Installation & Uninstallation
Download the step-by-step installation or uninstallation PDF guides below:
Windows Installation Windows UninstallationUser Interface
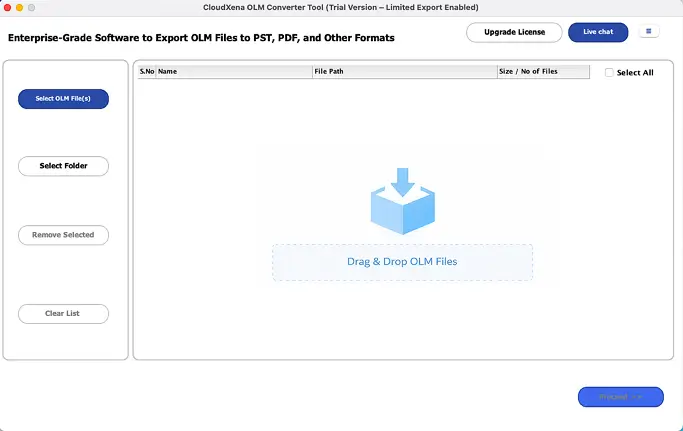
As you launch the OLM Converter Tool, you will find the following interface on your screen. The tool comes with a beginner-friendly interface designed so that anyone can operate it without confusion.