- Software Working Process
- User Interface
Software Working Process
1: Download the MBOX Converter Tool and install it on your system. Once installed, launch the software using administrator privileges, then click on Continue to proceed.
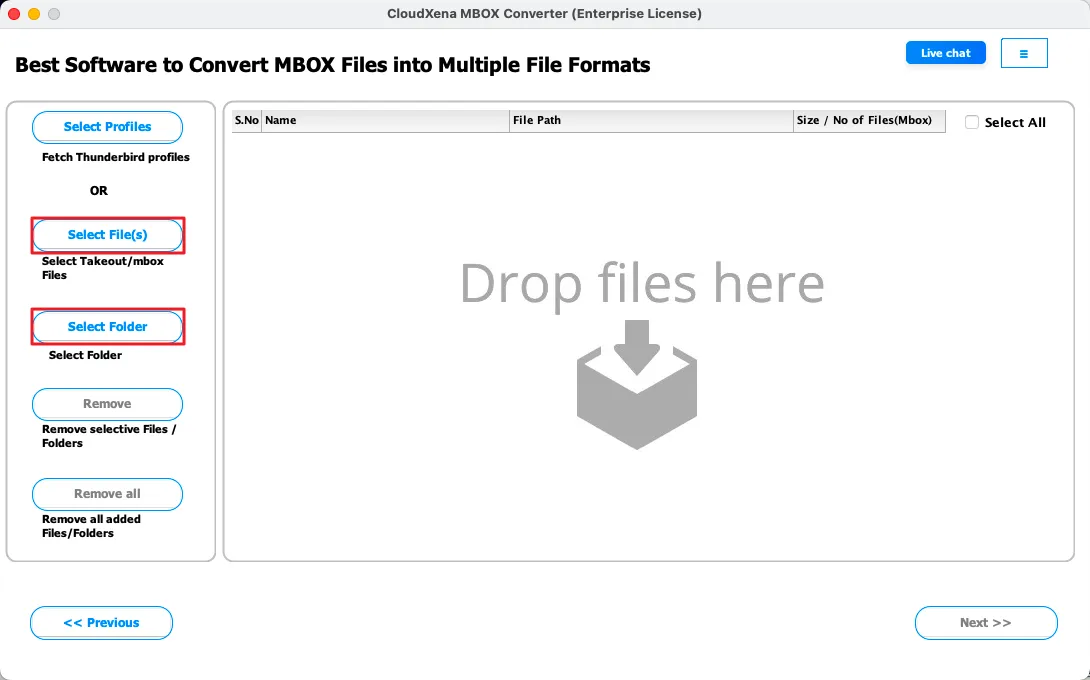
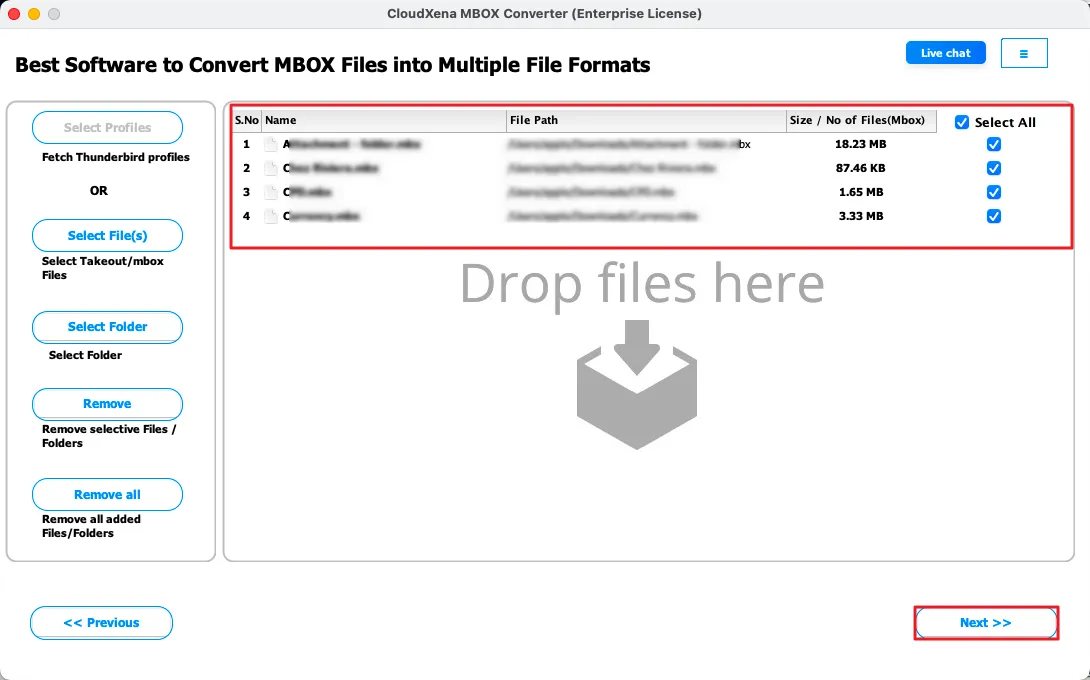
2: Use the available buttons to add and manage your MBOX data:
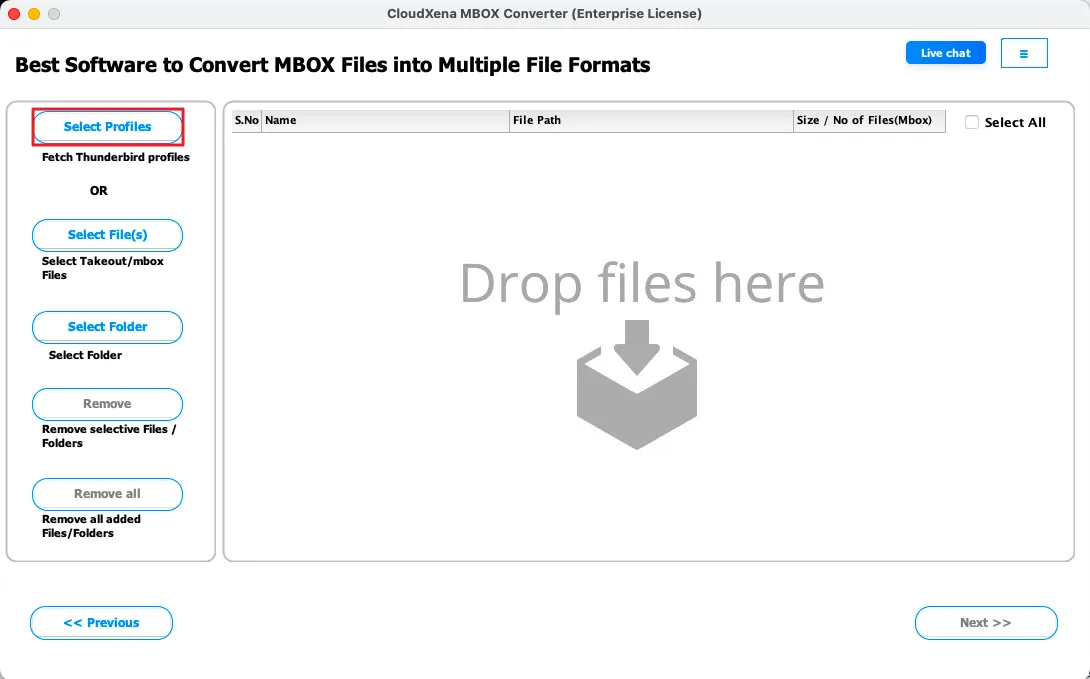
- Select Profile - fetch Thunderbird profiles directly from the system with MBOX emails.
- Select File(s) – add single or multiple MBOX files manually.
- Select Folder – import a folder containing multiple MBOX emails at once
- Remove Selected – remove specific files that were added by mistake
- Clear List – clear all added files from the list in one go
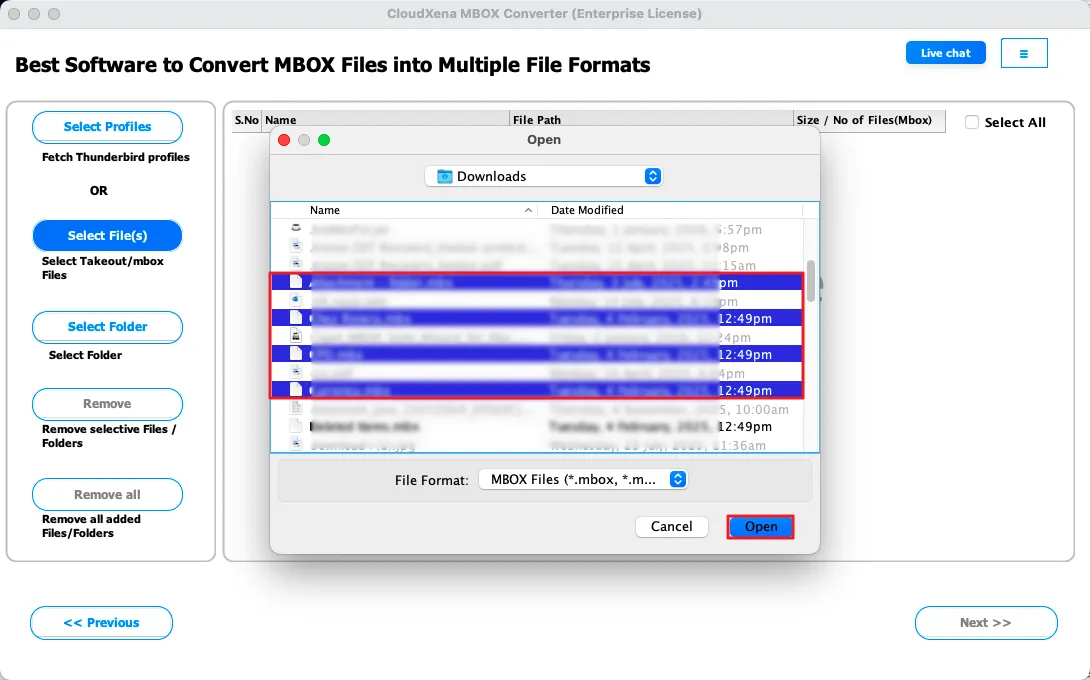
3: Click on Select File(s), then browse and locate your MBOX files on the system. Choose the file(s) you want to convert and click Open to add them. Alternatively, if you select Select Profile, the tool will automatically load your Thunderbird profile into the panel. Once all files are added, review and select the ones you want to convert, then click Proceed to continue.
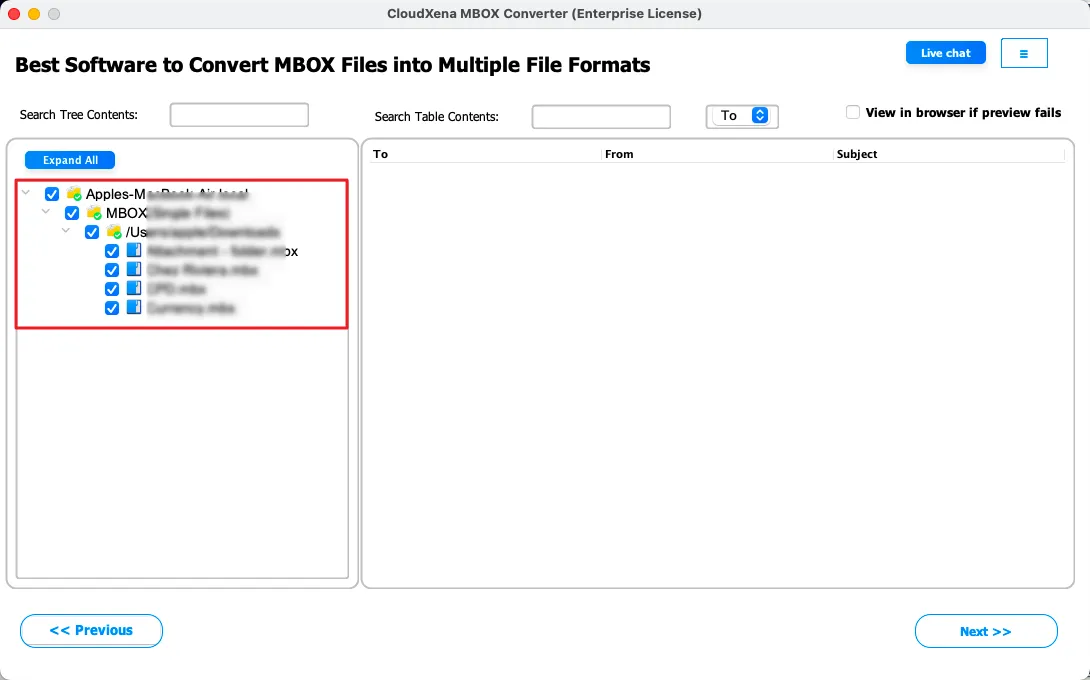
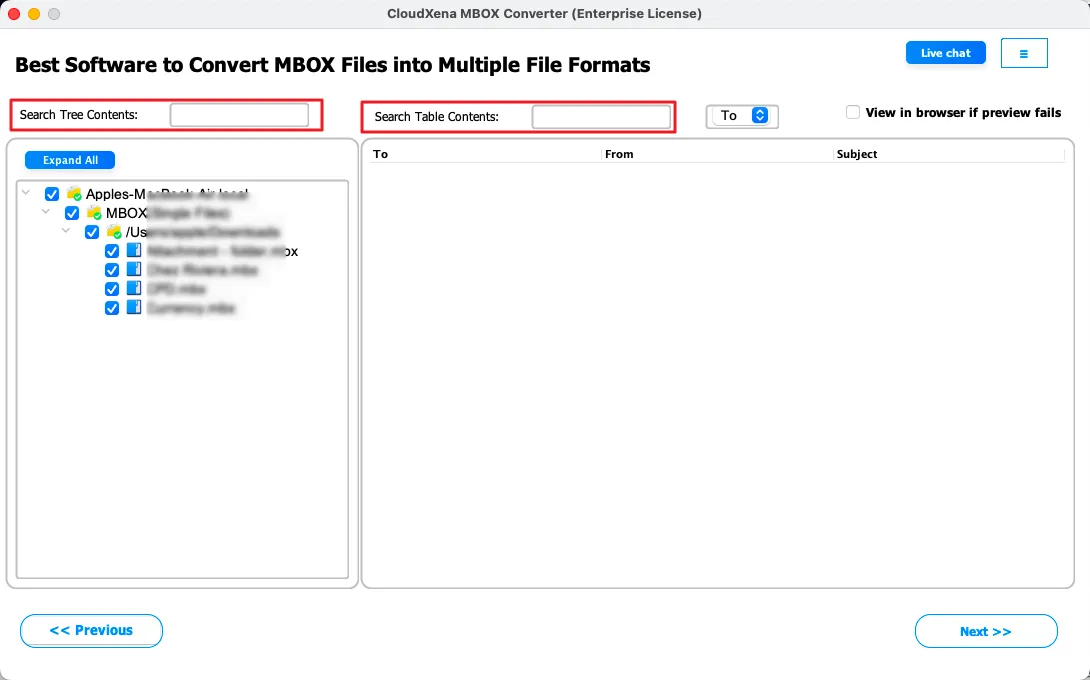
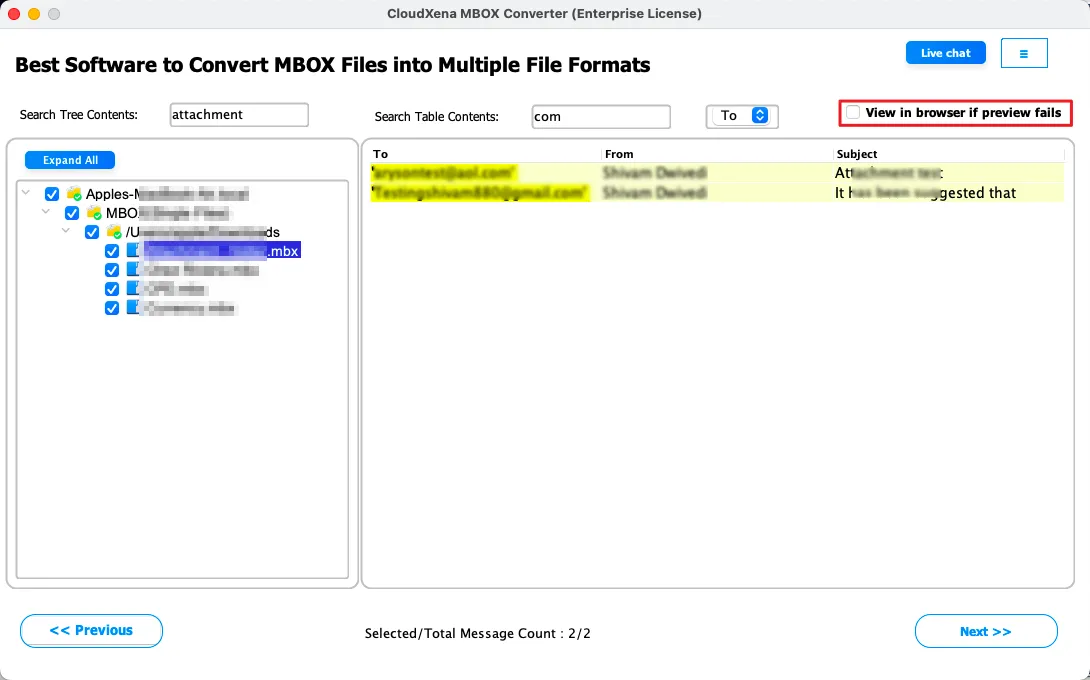
4: After adding the file, click on Expand All Folders to view all the files and folders within it. If you need to find something specific, use the Search Folders option to quickly locate a folder by entering a keyword.
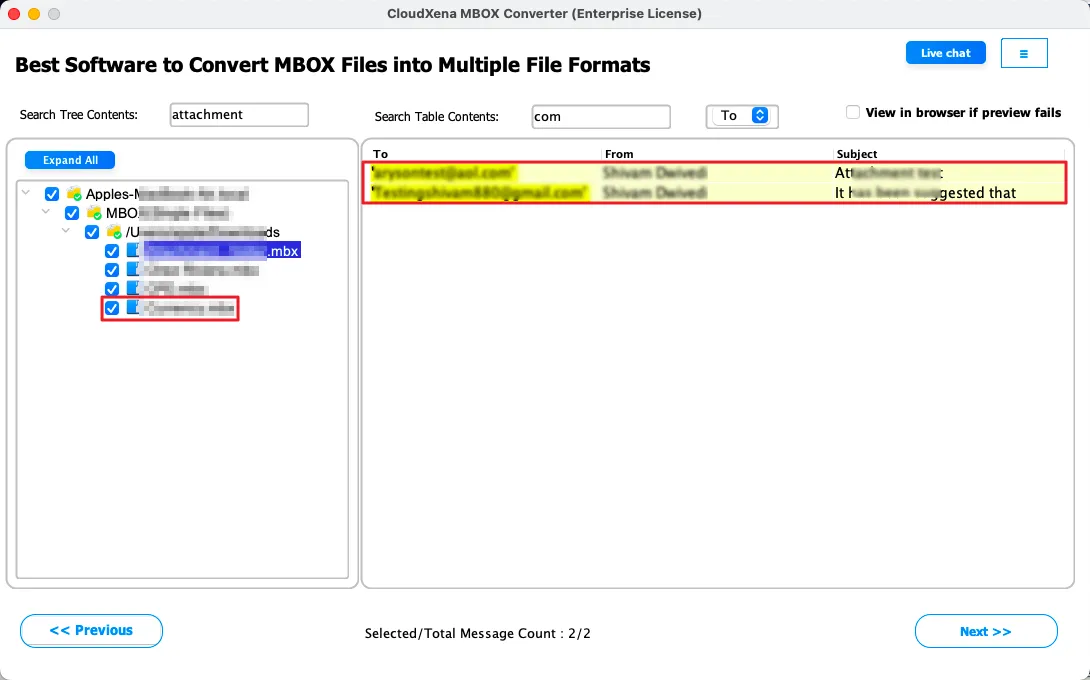
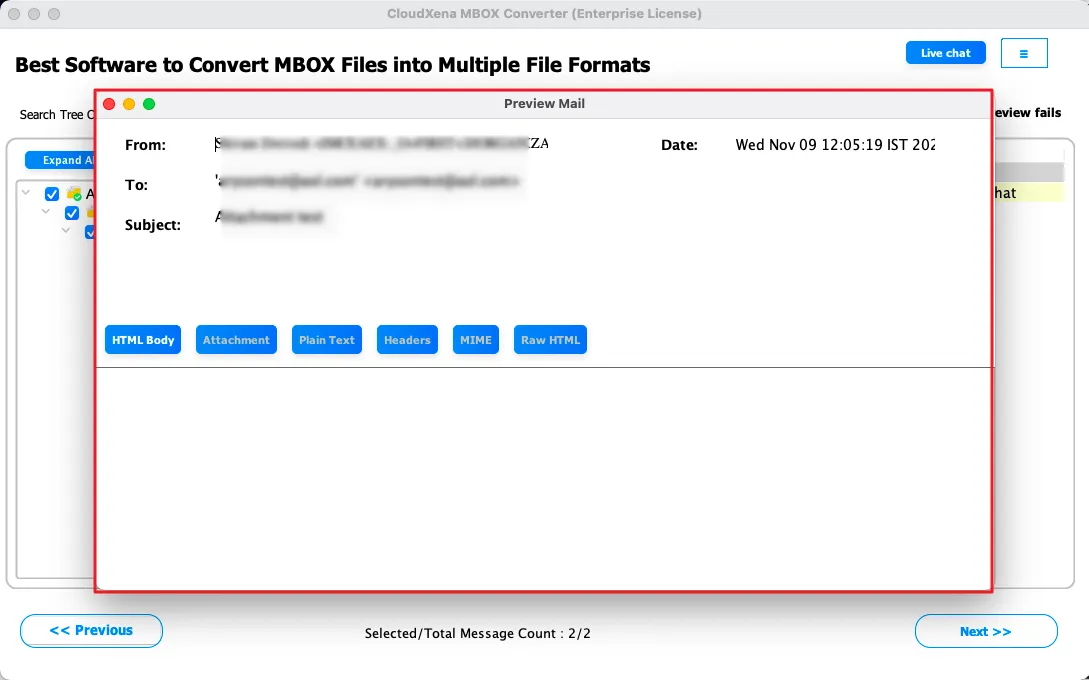
5: Use the advanced preview panel to check the data from the added files within the software. If the preview doesn’t display properly or you prefer to view it online, enable the Open in browser (if preview fails) option to review your MBOX data before conversion.
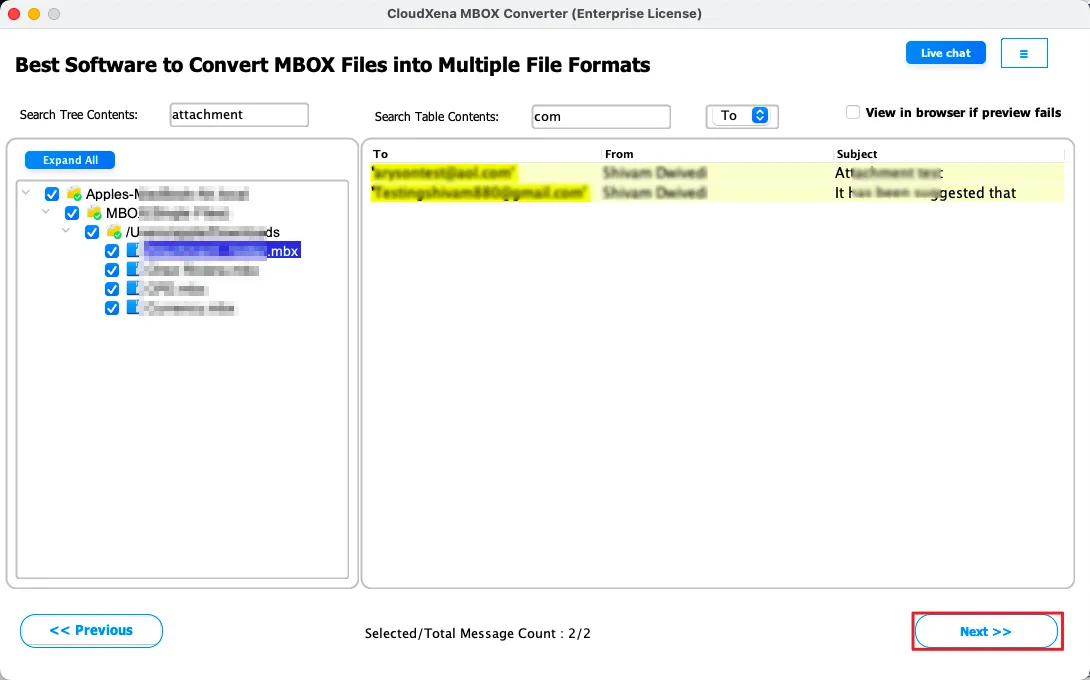
6: Select the required files and folders from the expanded tree structure. If needed, click on Collapse All Folders to simplify the view. Once your selection is complete, click Proceed to move to the next step.
7: Select the output file format from the list of available options, such as Outlook Data File (.PST) or any other format as per your requirement. Choose carefully before moving ahead.
8: Configure General Settings
- Apply Date Range Filter to export emails within a specific time period
- Set a File Naming Policy to organize output files properly
- Choose a Custom Output Folder to save files in your desired location
- Enable Skip Existing Exports to avoid duplicate conversions
9: Use Advanced Controls
- Manage Attachments by including, excluding, or saving them separately
- Enable Duplicate Detection to remove repeated emails based on fields like To, From, Subject, Body, and CC
- Use PST Segmentation to split large PST files into smaller sizes
- Apply MBOX Segmentation to break large MBOX files into manageable parts
- Set PDF Size Restriction to control the size of exported PDF files
Note: Some features are available only for specific output formats
10: Click on the Browse button to select the destination location where you want to save the converted files. After confirming all the settings, click on Convert or Start Export to begin the process.
11: Once the conversion is completed, a confirmation message will appear indicating a successful export. You can review details such as Source, Destination, File Count, Status, Execution Time, Total Messages, and Output Location.
If required, click on Export Log to view the full report or choose Start New Export to run another conversion.
User Interface
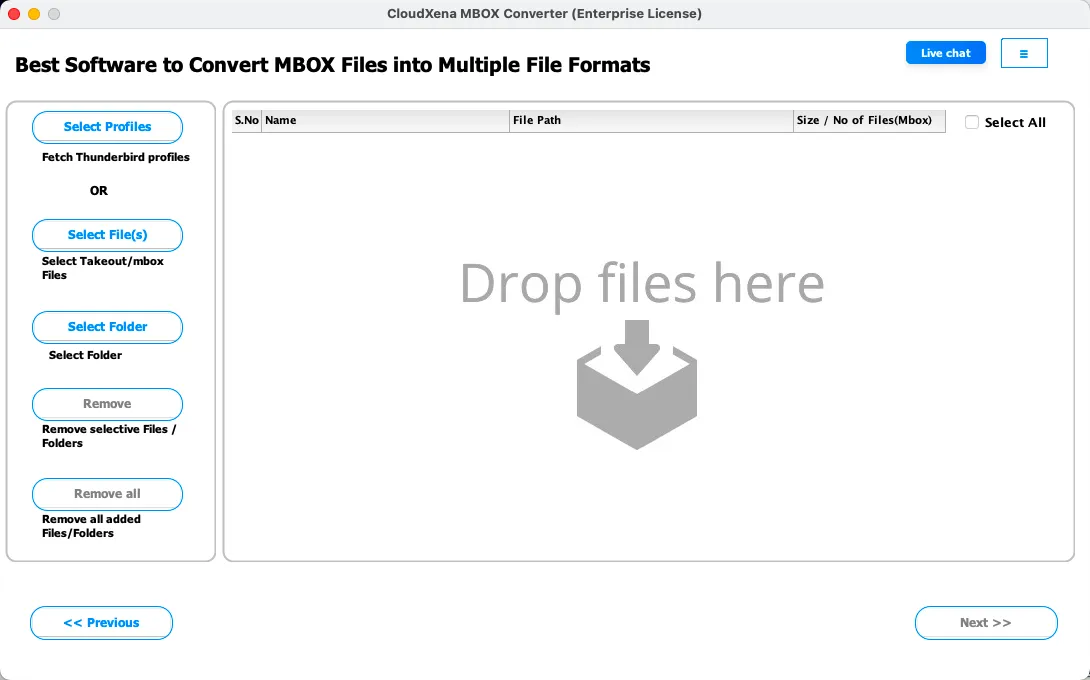
When you launch the MBOX Converter Tool, you will see the following interface on your screen.
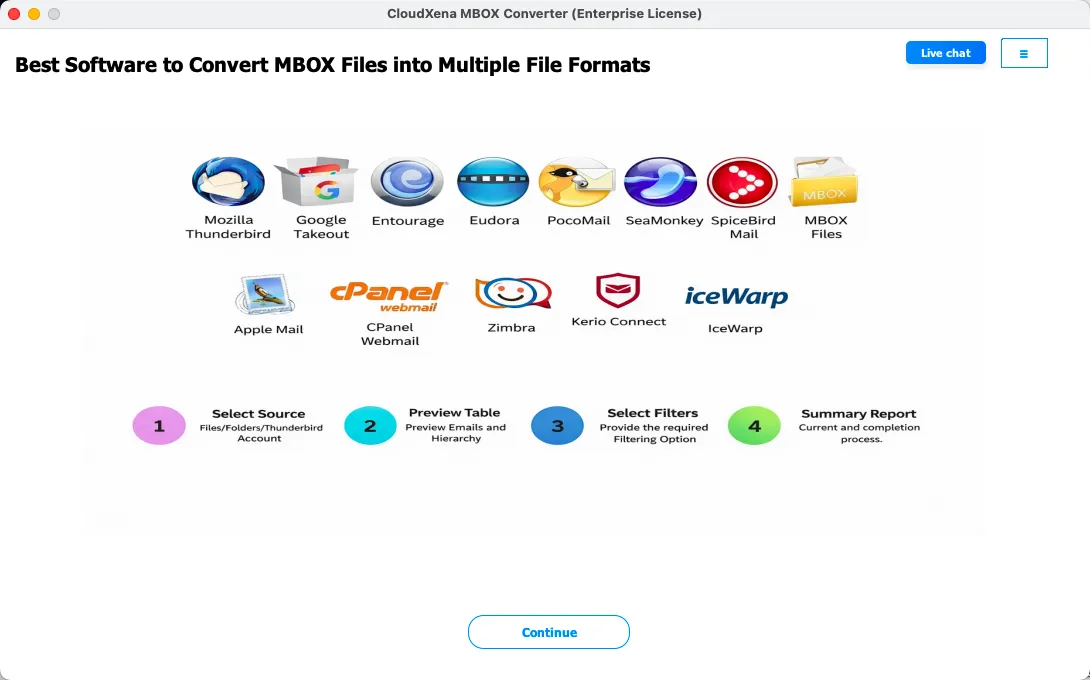
Click Continue to move to the next step.