- Software Working Process
- User Interface
Software Working Process
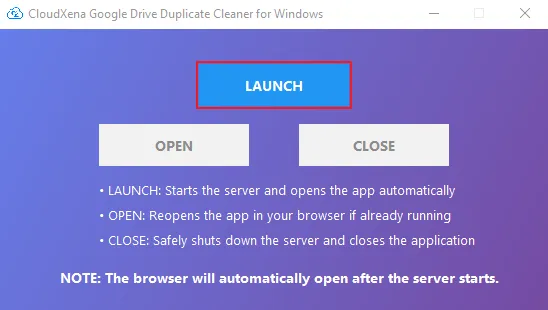
1: Download, install, and run the Google Drive Duplicate Finder on your system. Once it opens, click Launch.
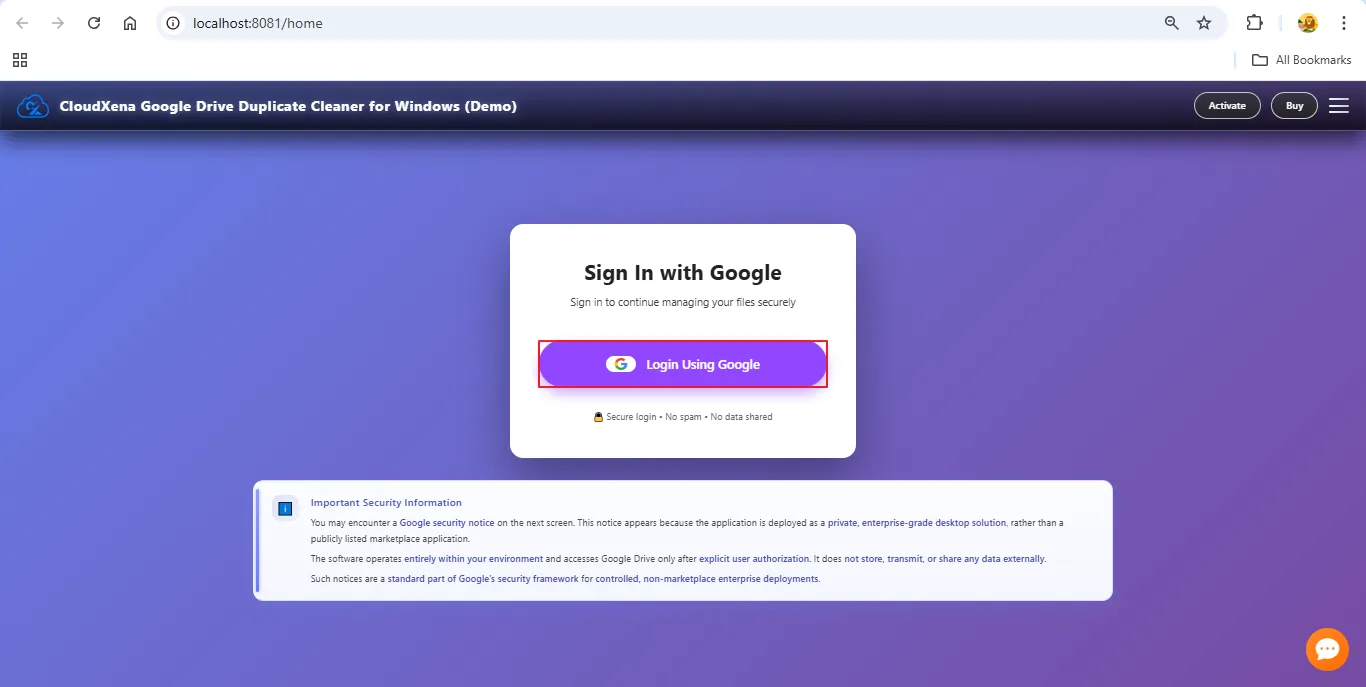
2: When the software redirects you to your default browser, select Login Using Google to grant the tool access to your Google Drive storage.
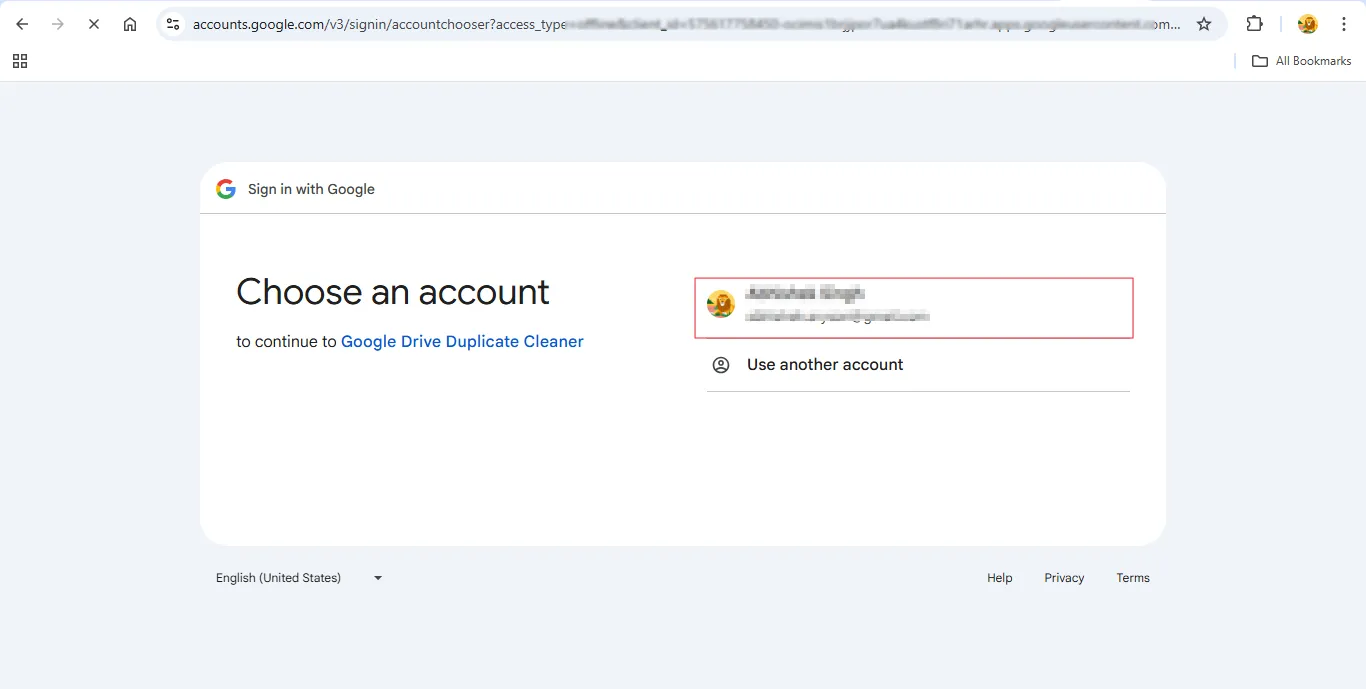
3: Select the Google Account you want to connect. If you’re already logged into the browser, this step will be quicker.
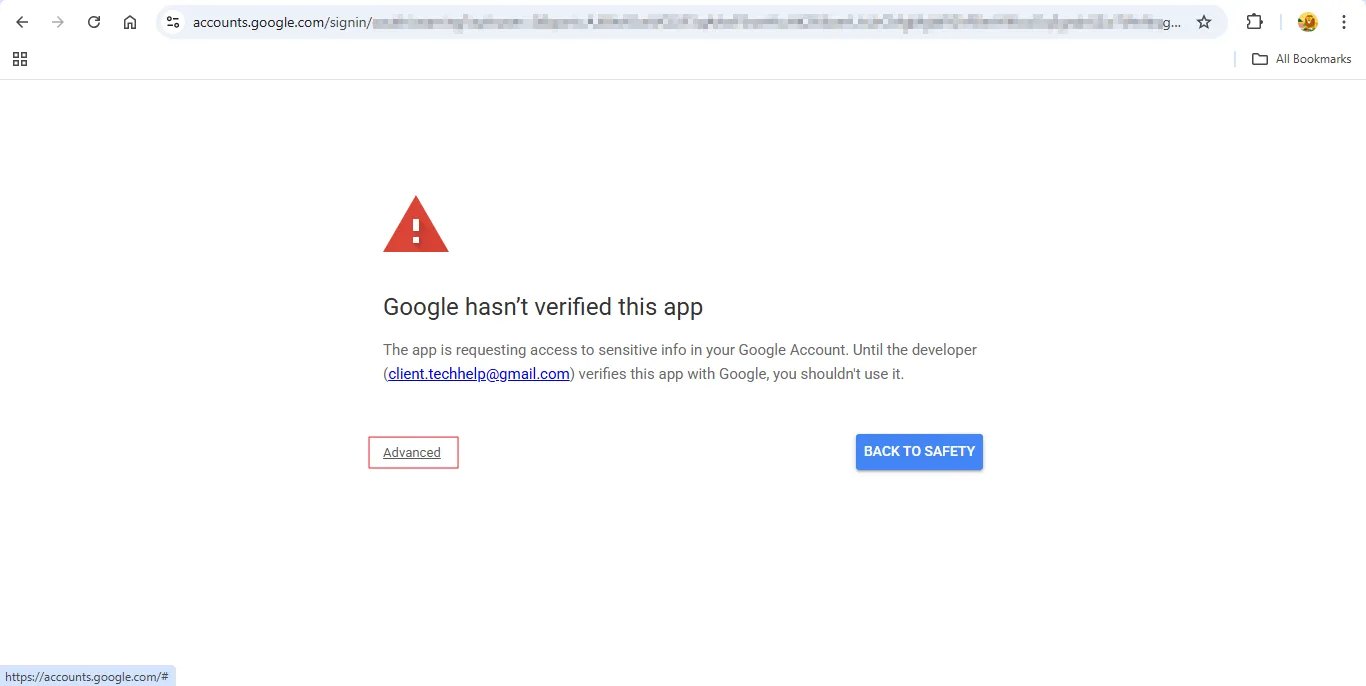
4:A standard warning for non-Marketplace apps will appear. This is needed only to allow the tool to scan for duplicates. Click Advanced.
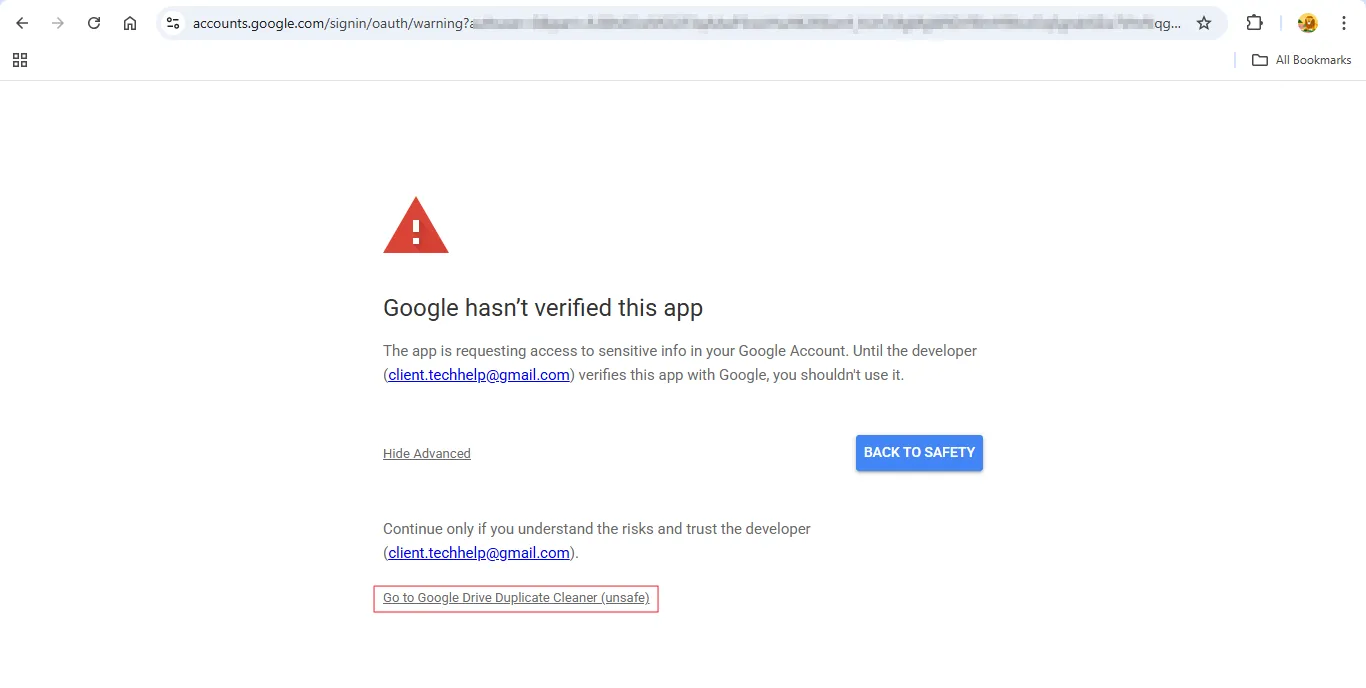
5: Next, press Go to Google Drive Duplicate Cleaner (unsafe) to proceed with authorization.
Note: This message is a normal Google security alert shown for apps that use Drive APIs but aren’t published on the Google Marketplace. Our tool is a private, client-side utility, so Google verification isn’t required.
Remember:
- Access is limited to your Google Drive files for duplicate scanning only.
- No data is stored, shared, or sent to any server.
- All processing runs locally on your system.
- We do not access emails, contacts, or any personal account details.
- You can revoke access anytime from the Google Account security settings.
Many internal enterprise tools show the same notice due to Google’s policies. You can safely continue by clicking Advanced → Continue.
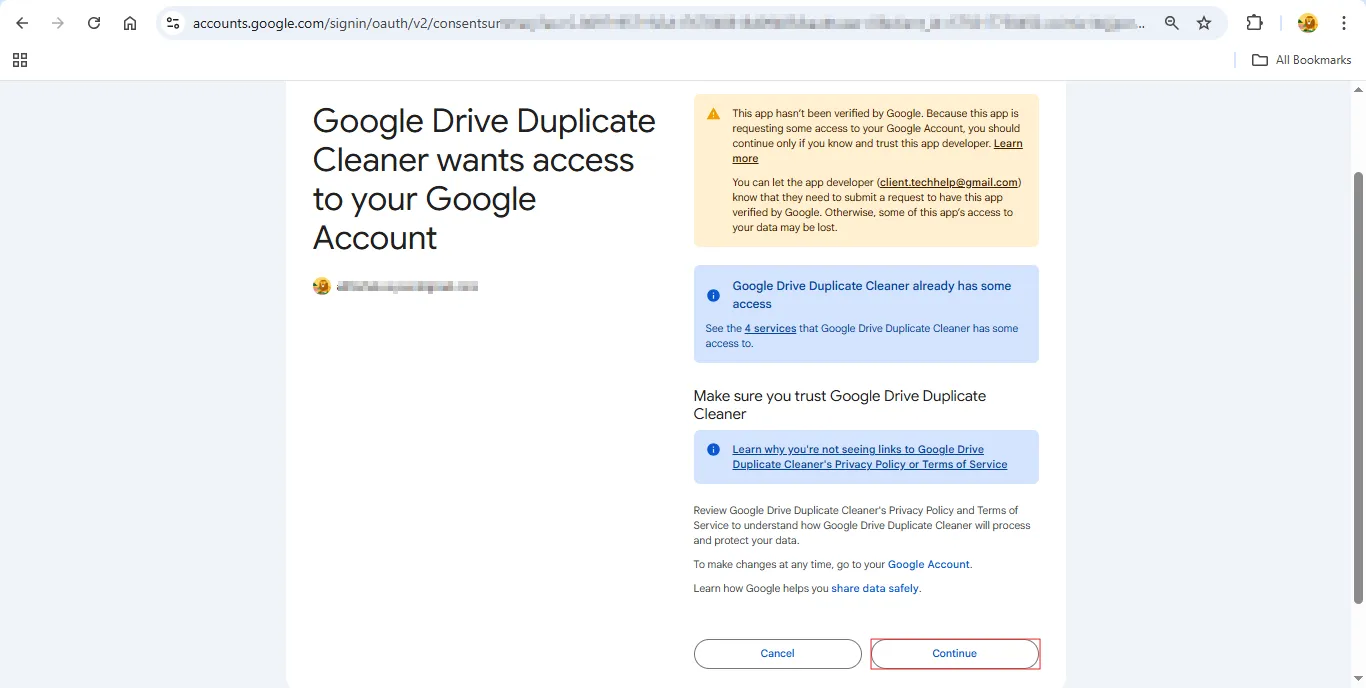
6: Tick the checkbox that allows backup and access to your Gmail and Drive data. Then click Continue.
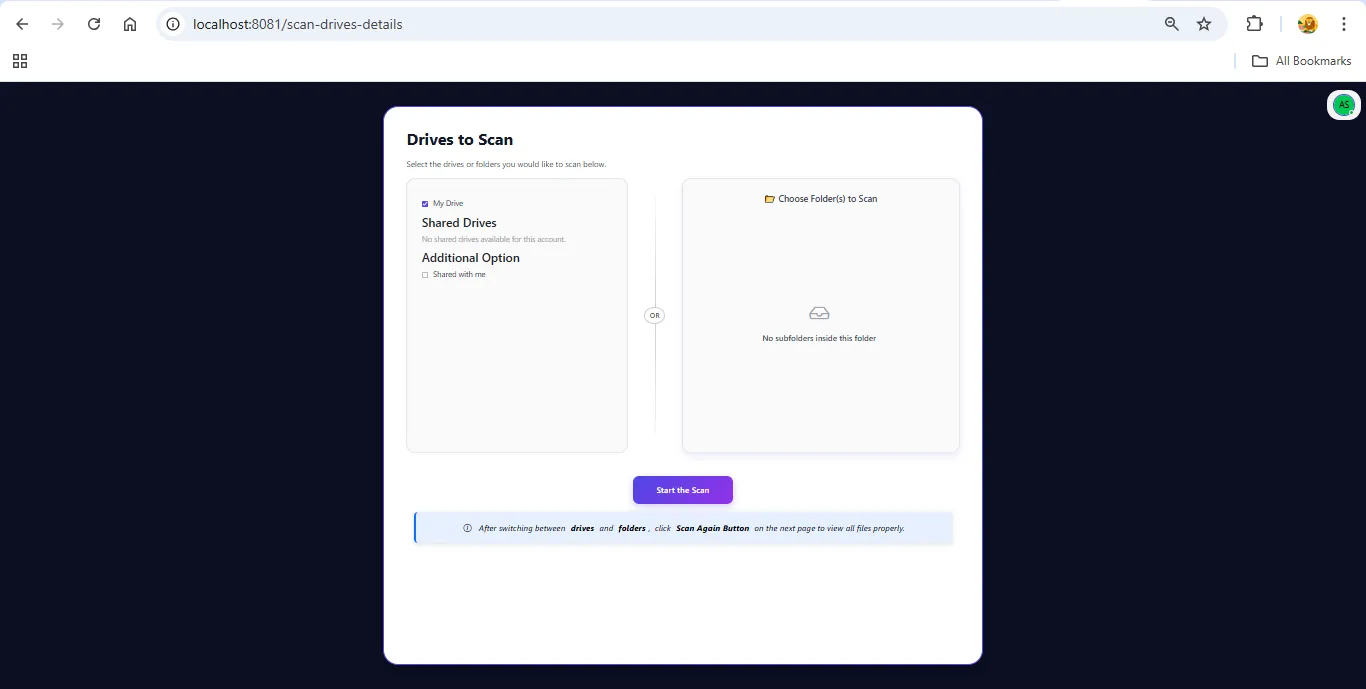
7: Choose from My Drive, Shared With Me, or choose specific folders you want to analyze. After selection, press Start the Scan.

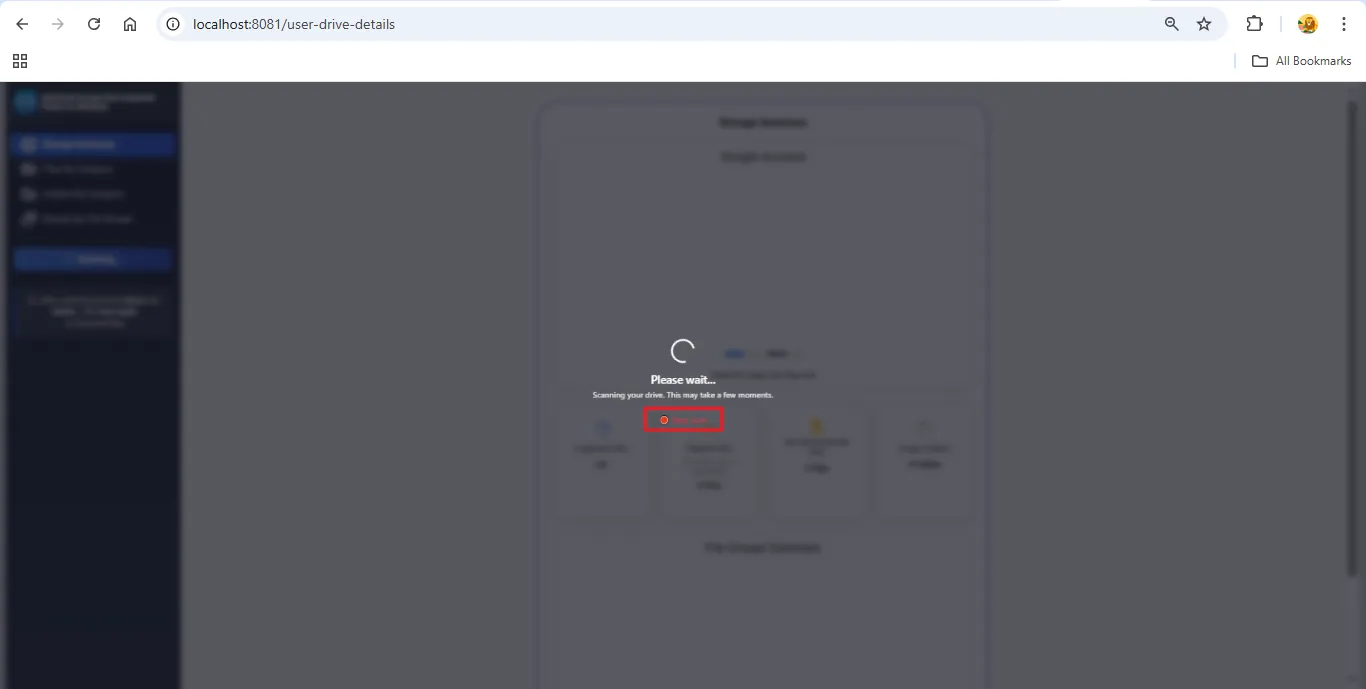
8: When you click Start the Scan, the tool begins loading and analyzing all selected items. You can stop this process at any time using the Stop Scan button.
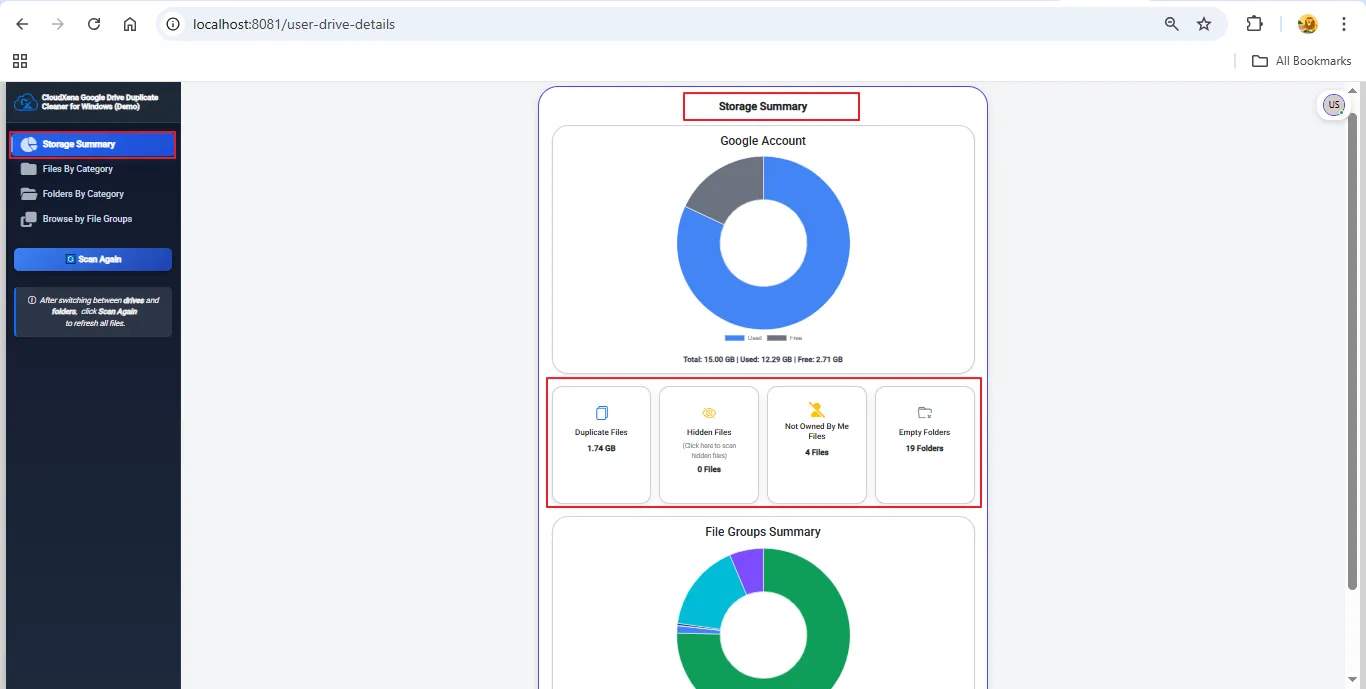
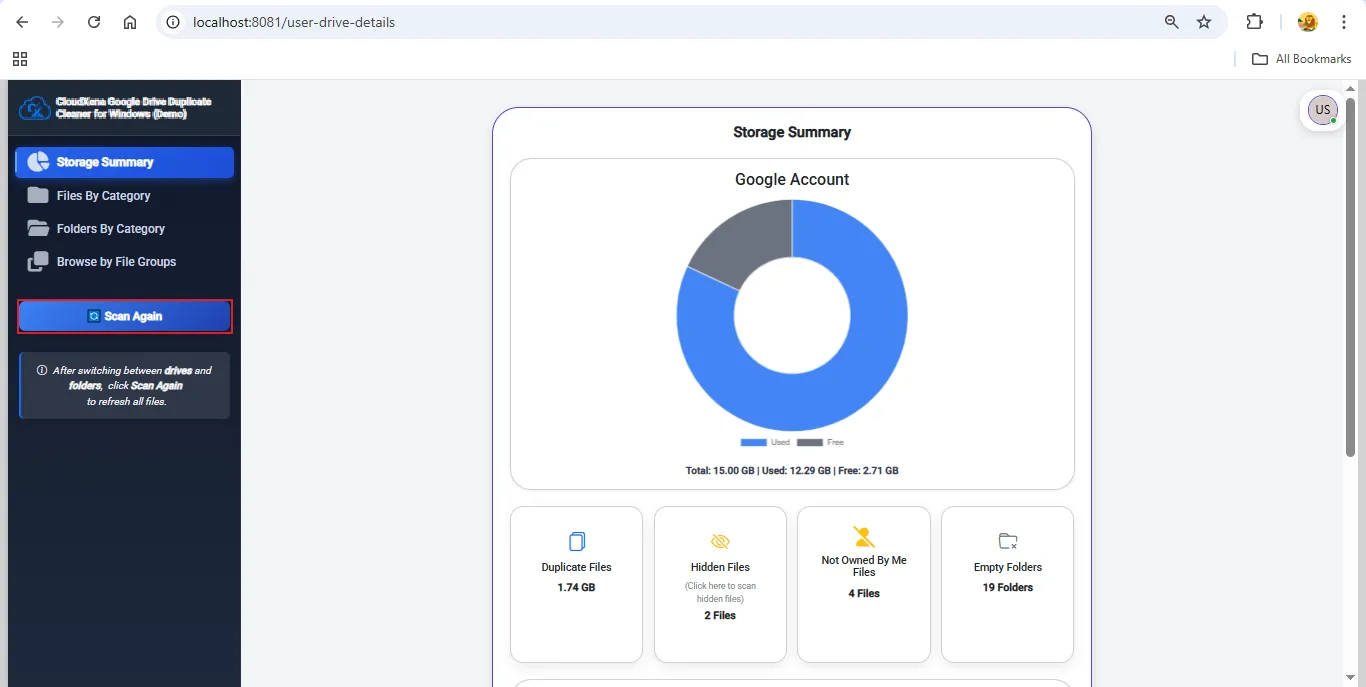
9: When the scan completes, a detailed summary appears, showing:
- Total Drive Space
- Used Space
- Free Space
- Duplicates
- Hidden files
- Files not owned by me
- Empty folders
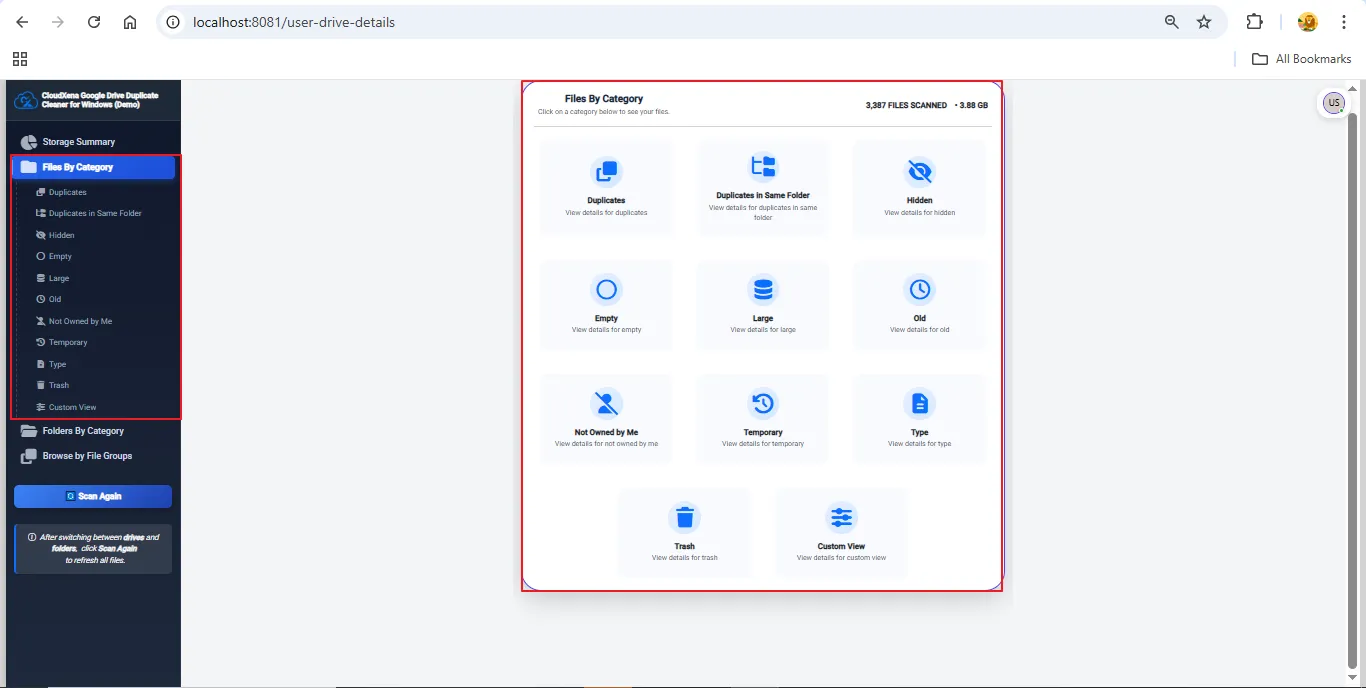
10: You can browse your Drive data using any of these three modes:
- Files by Category
- Folders by Category
- Browse File by Groups
These views help you understand file distribution and storage consumption.

11: Selecting File by Category arranges your data into groups such as duplicates (same folder), hidden, empty, large, old, not owned by me, temporary, by type, custom view, and trash — making cleanup much faster.
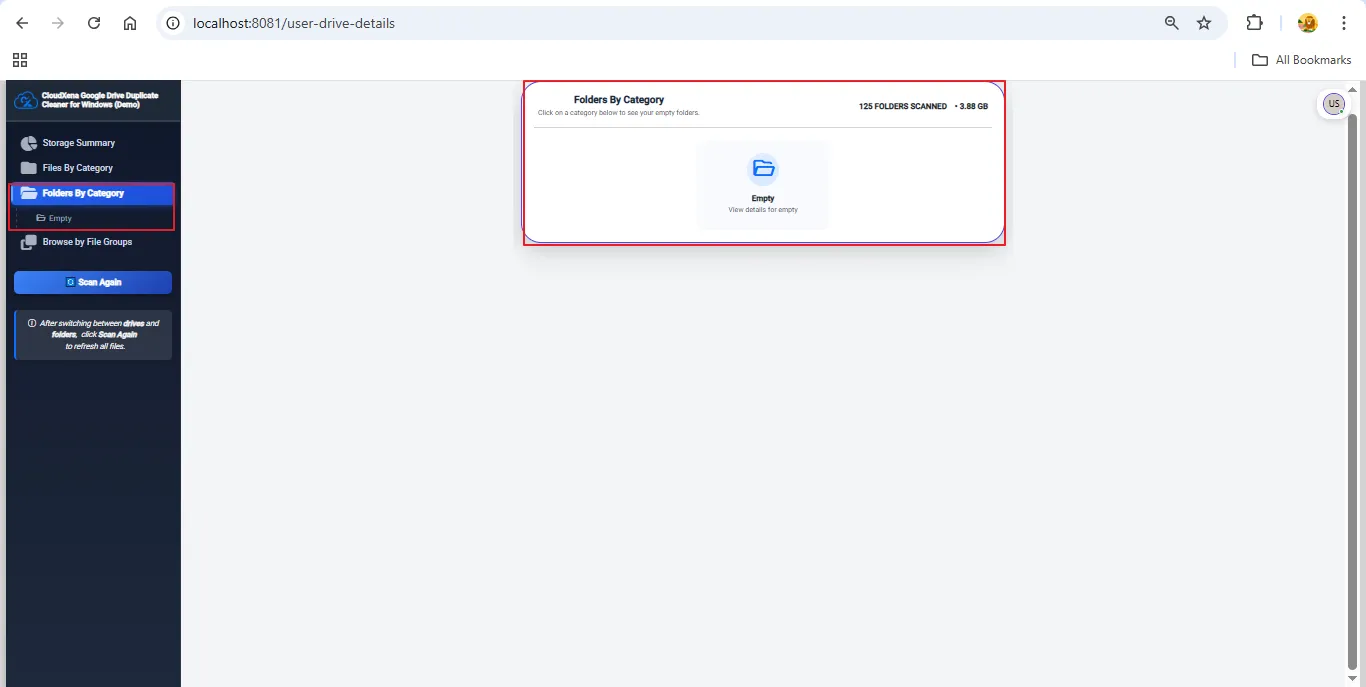
12: With Folder by Category, you can instantly spot empty or unused folders and clean them up to improve your Drive structure.
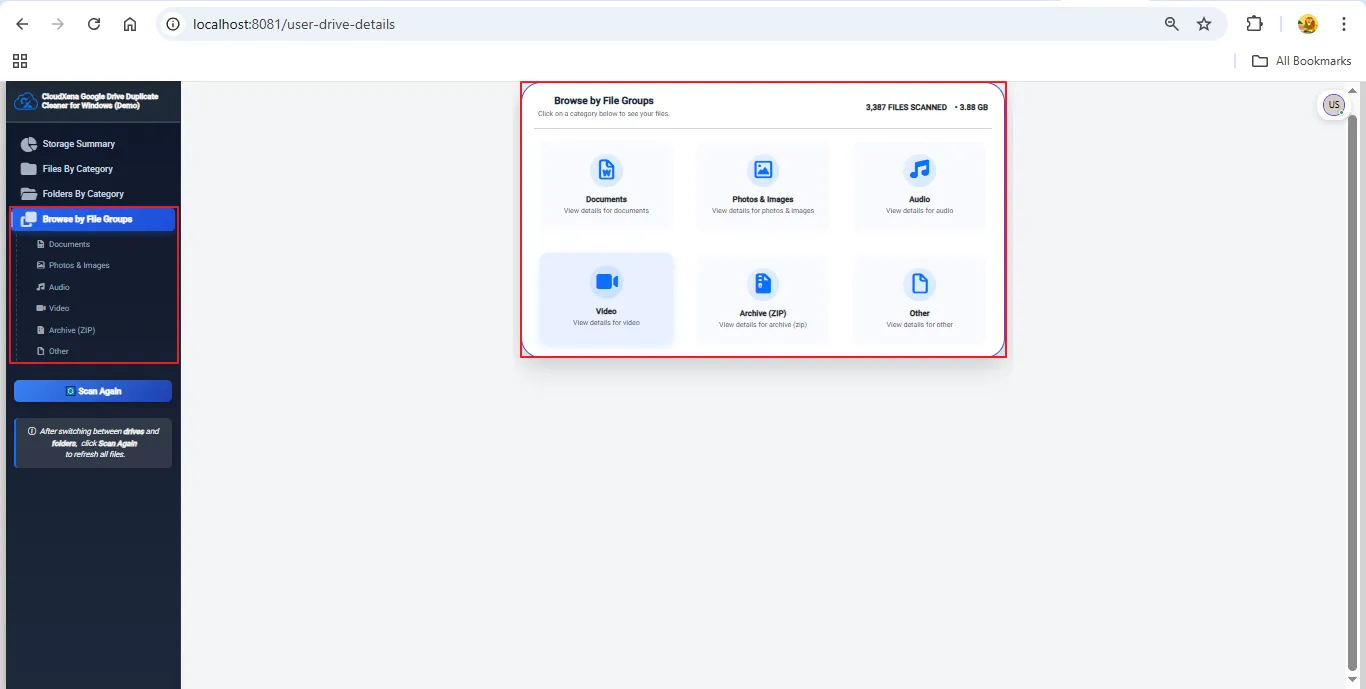
13: The Browse File by Groups view automatically categorizes your files into Documents, Photos, Audio, Video, ZIP, and Others for easy navigation.
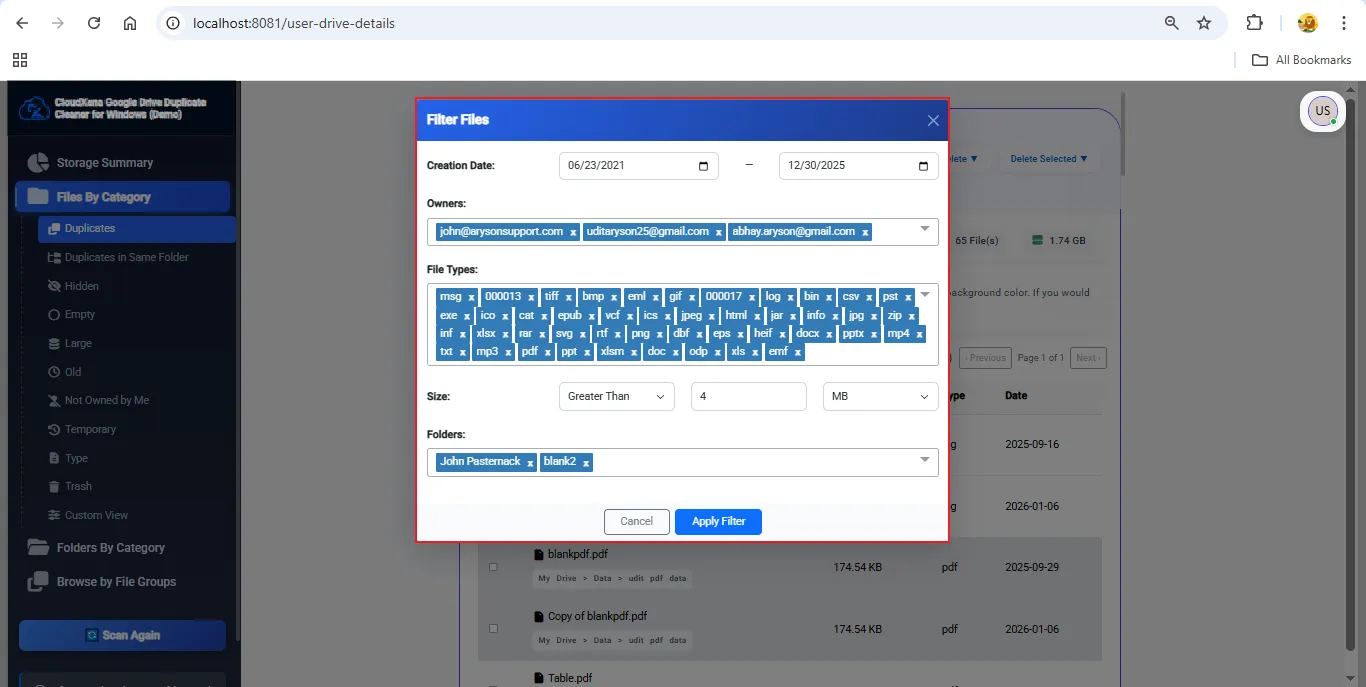
14: Filters help you pinpoint unnecessary files quickly. You can sort using:
- Creation Date: Locate files created within a chosen time frame.
- Owners: Filter files by specific owner IDs.
- File Types: Show only selected file formats.
- Size: Identify large files or files within a size range.
- Folder: Focus on a specific folder to handle its duplicates.
These filters narrow down your results for faster cleanup.
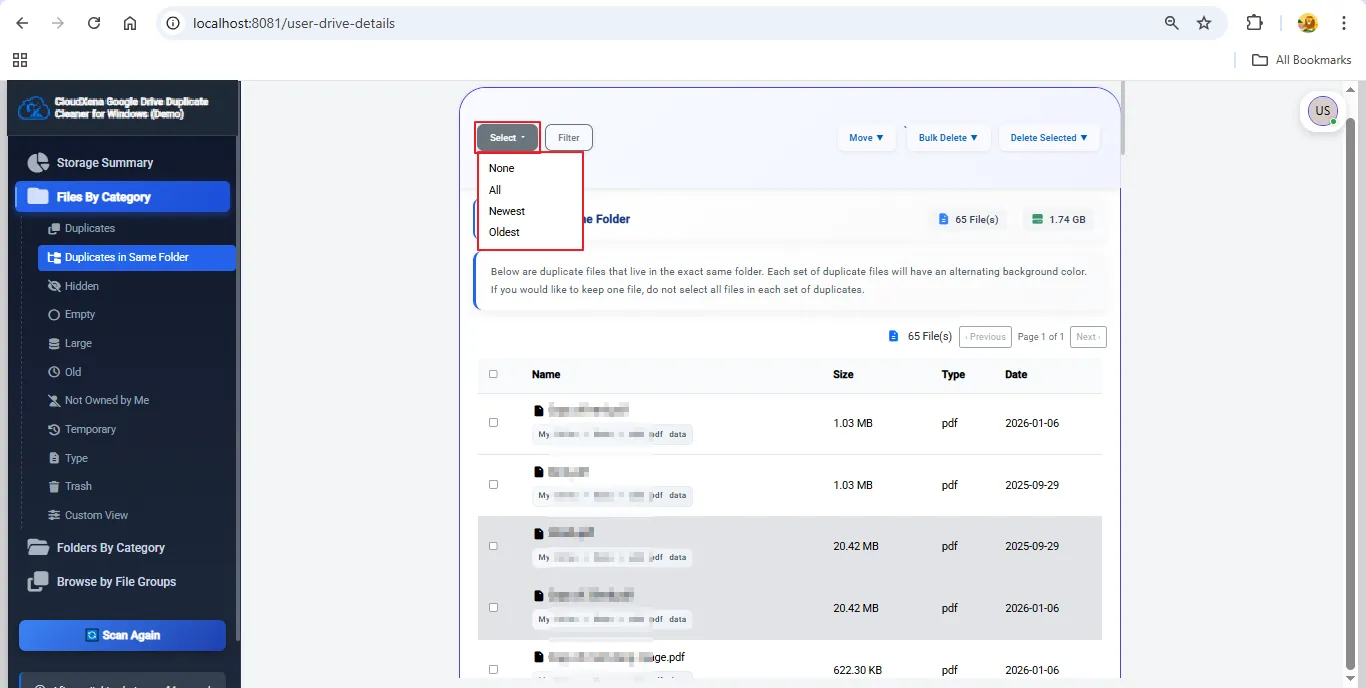
15: Use the Select feature to refine items shown on the current page (up to 500 files). Options include None, All, Newest, and Oldest.
16: After identifying duplicates, you can relocate them using the Move option. Choose Move All or Move Selected to shift files to another Drive folder.

17: To remove an entire category at once, choose Bulk Delete. You can:
- Delete All permanently
- Trash All to keep them recoverable

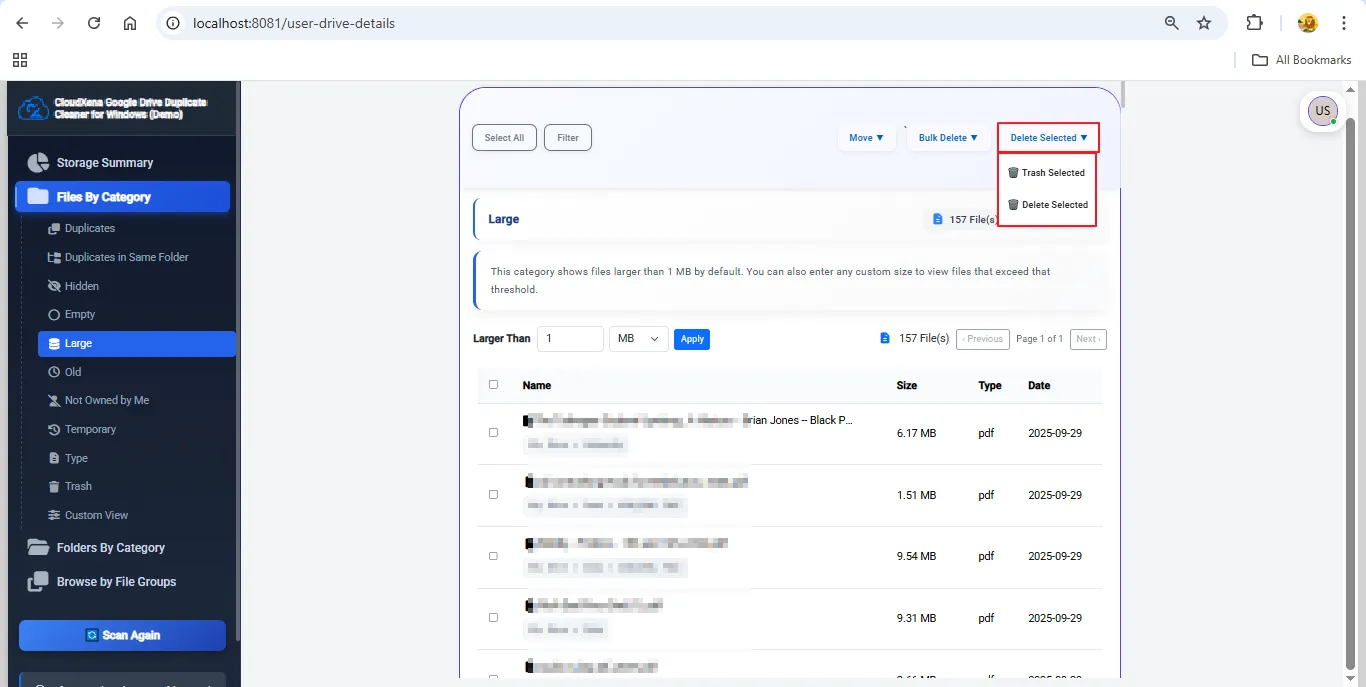
18: For selective cleanup, use Delete Selected. Choose between:
- Delete Selected (permanent removal)
- Trash Selected (send to trash temporarily)
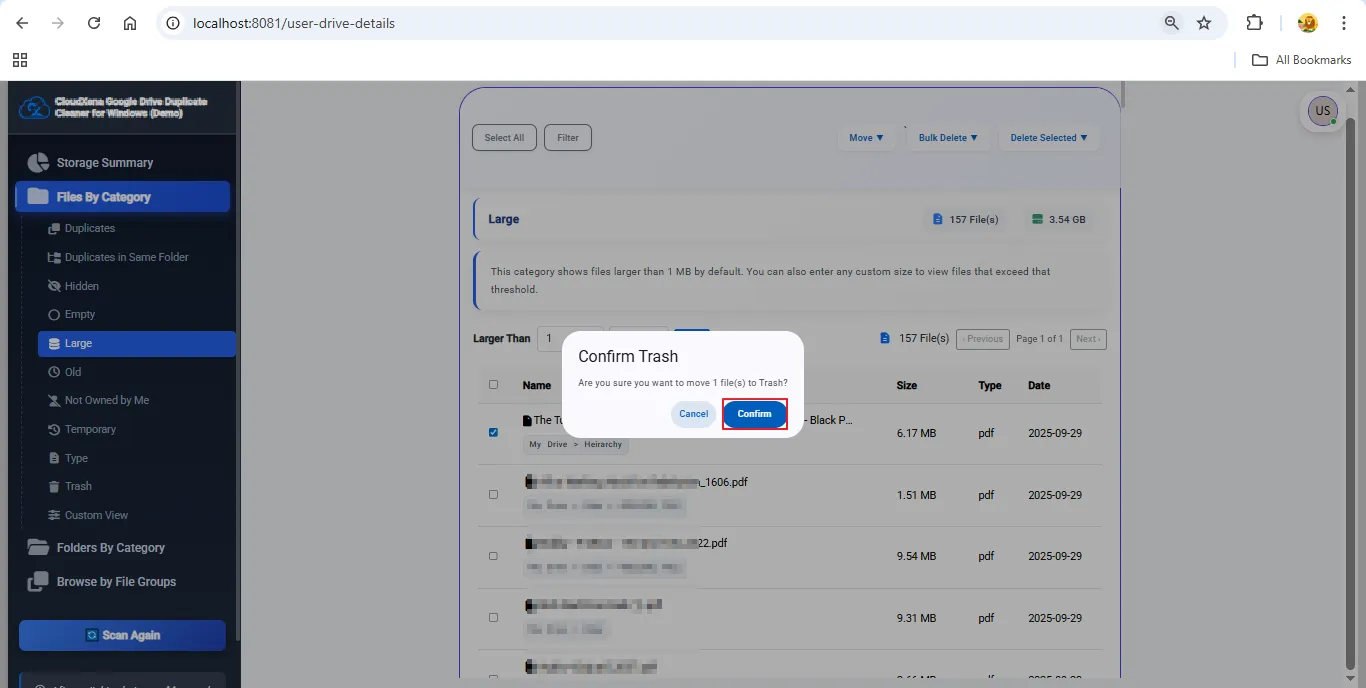
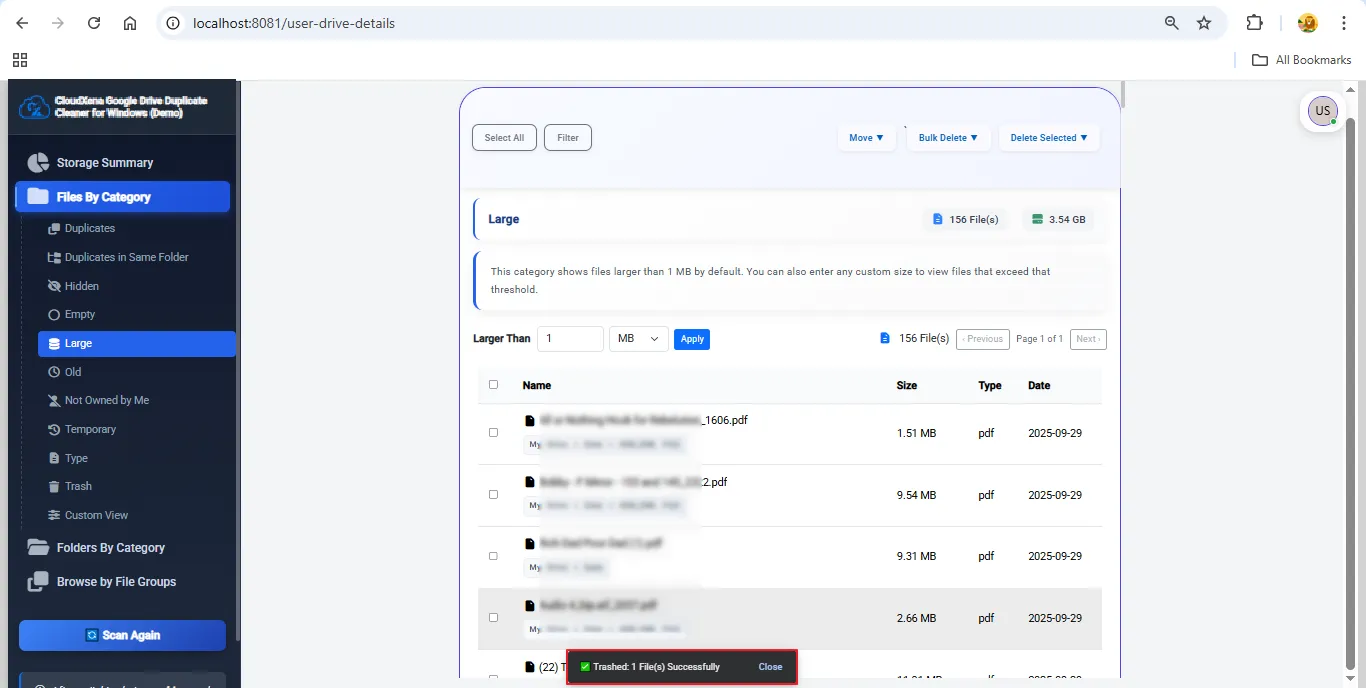
19: After selecting the files and verifying your choices, a pop-up will appear asking for confirmation. Press Confirm to proceed.
20: Once you confirm your action (Move/Delete/Trash), the process begins. When it's done, a successful completion message will appear at the bottom of the screen.
21: Finally, click Scan Again to re-scan your Drive and ensure that all duplicates have been cleared and your storage is fully optimized.
Activate the Software
Installation & Uninstallation
Download the step-by-step installation or uninstallation PDF guides below:
Windows Installation Windows UninstallationUser Interface
After launching the tool and signing in with your Google Drive credentials, the software will open in your browser, where you’ll see the main interface ready for use.