- Software Working Process
- User Interface
Software Working Process
1: First, install and launch the CloudXena OneDrive Duplicate Remover tool on your system.

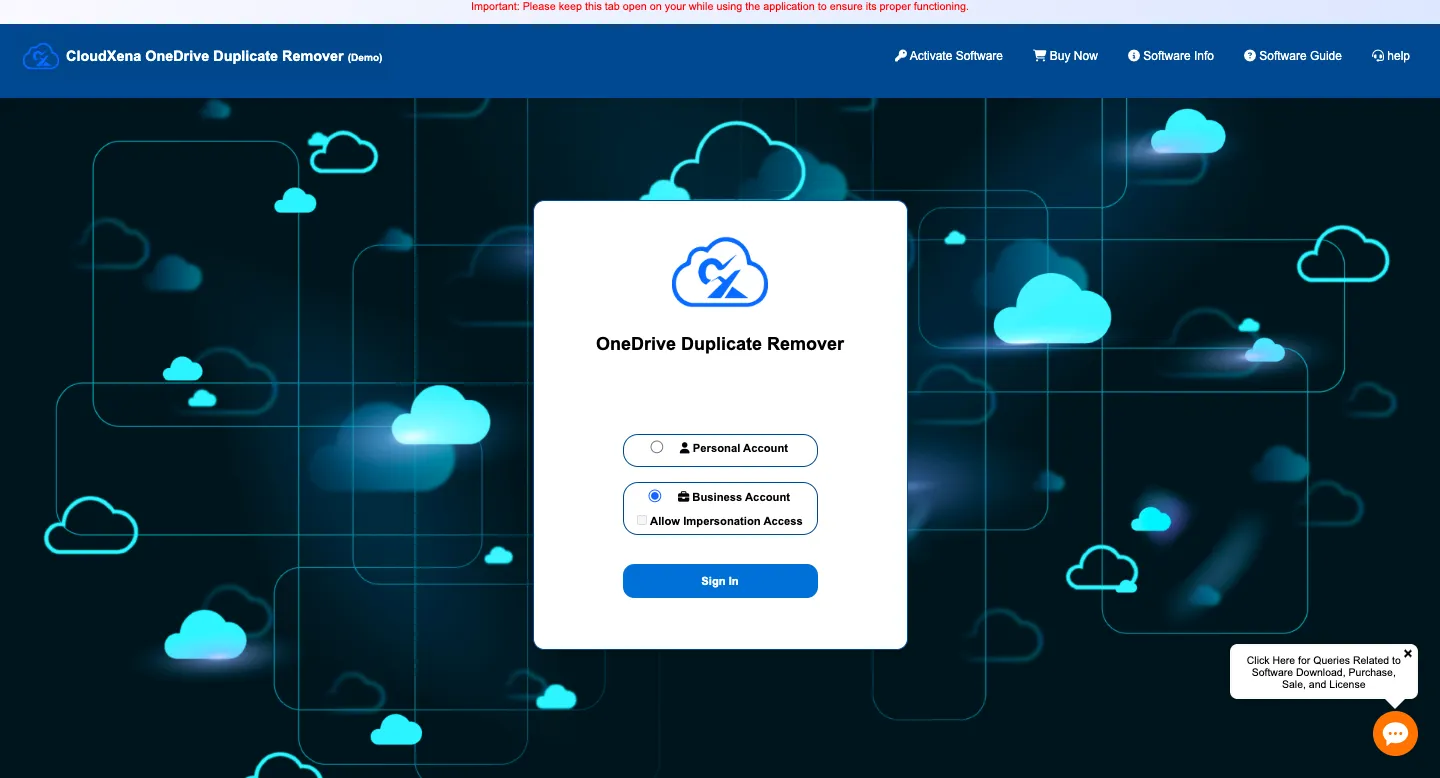
2: Next, choose the account type you want to connect, Personal Account or Business Account, and click Sign In.
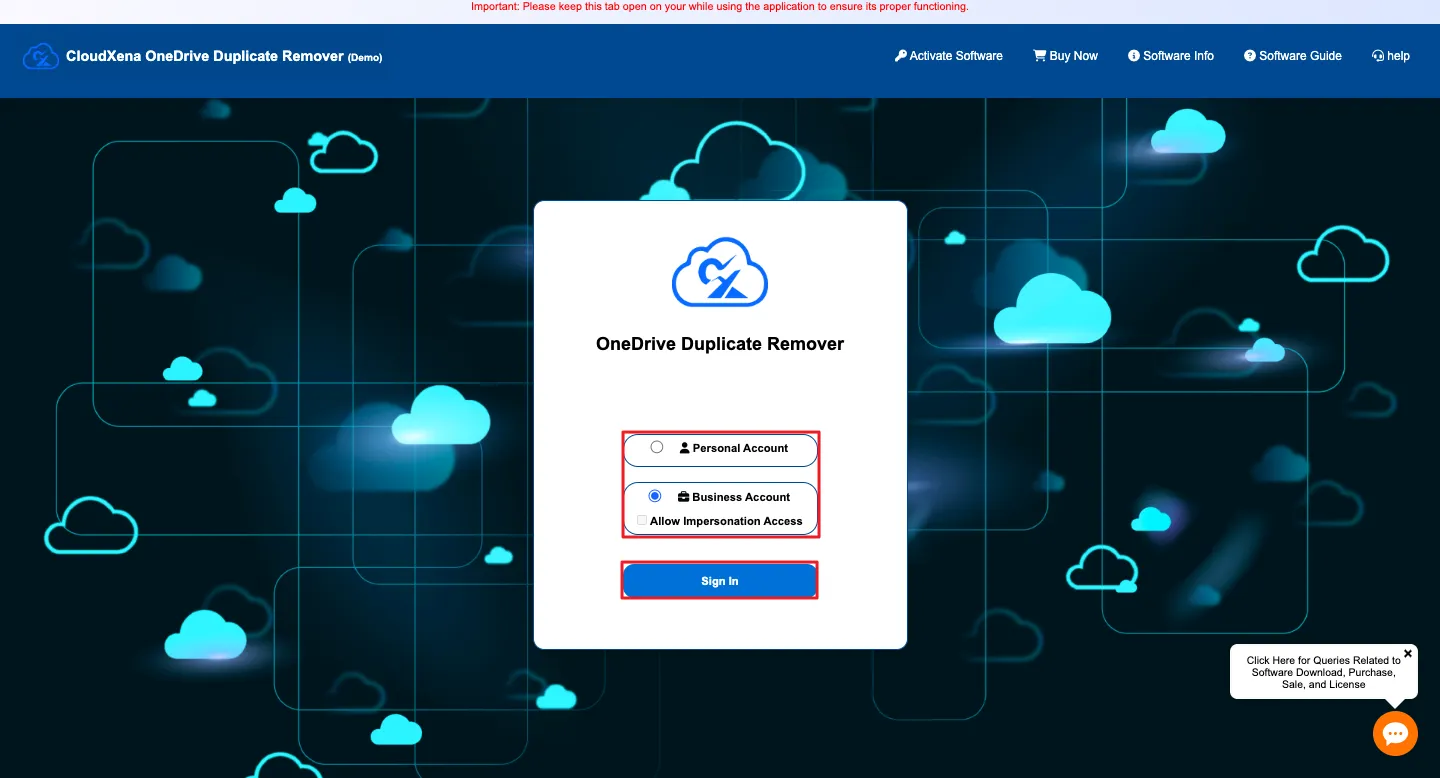
3: Now, enter your correct OneDrive login details and verify your identity.
(Ensure your OneDrive account is already logged in through your default browser.)

4: Once signed in, the tool will display your Drive Storage Summary, including account details, used storage, and last activity timestamp.
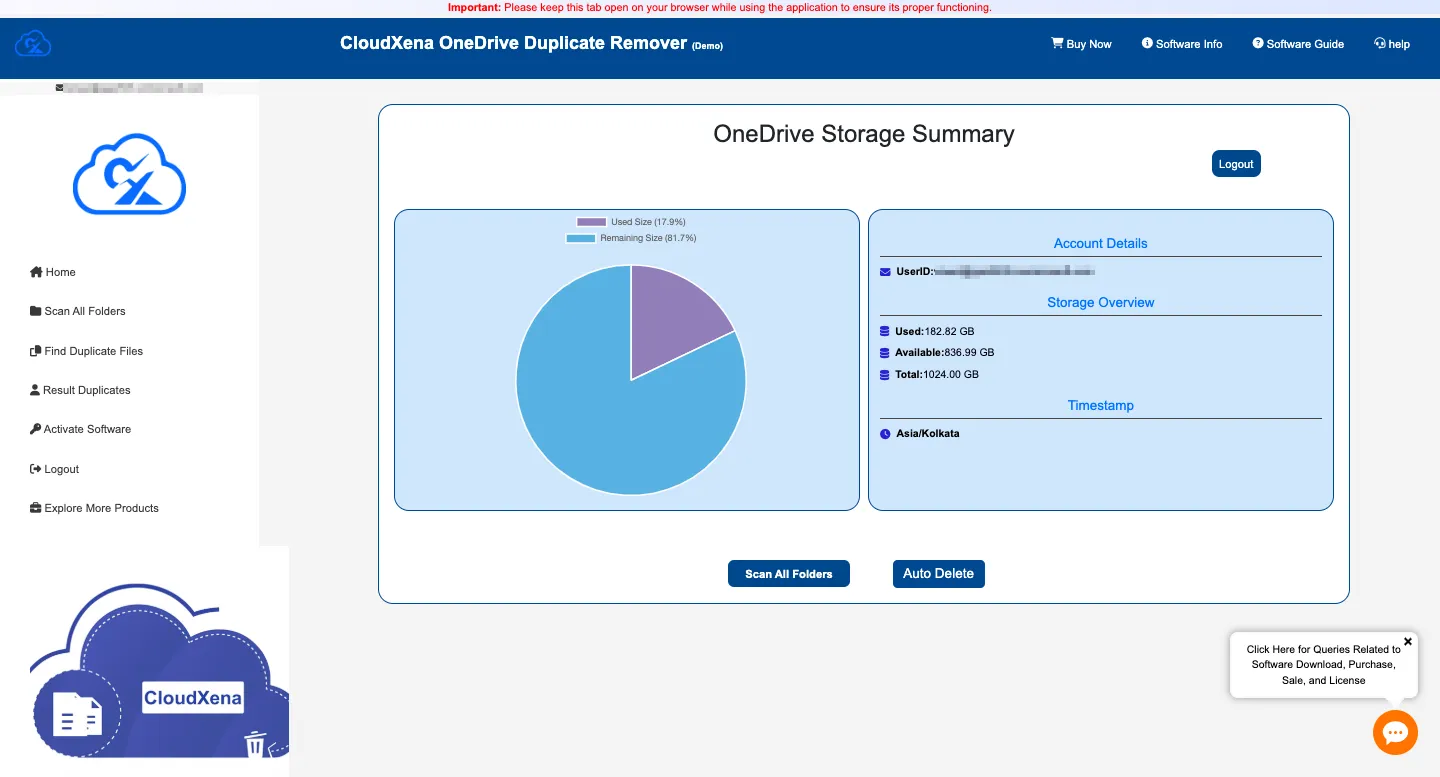
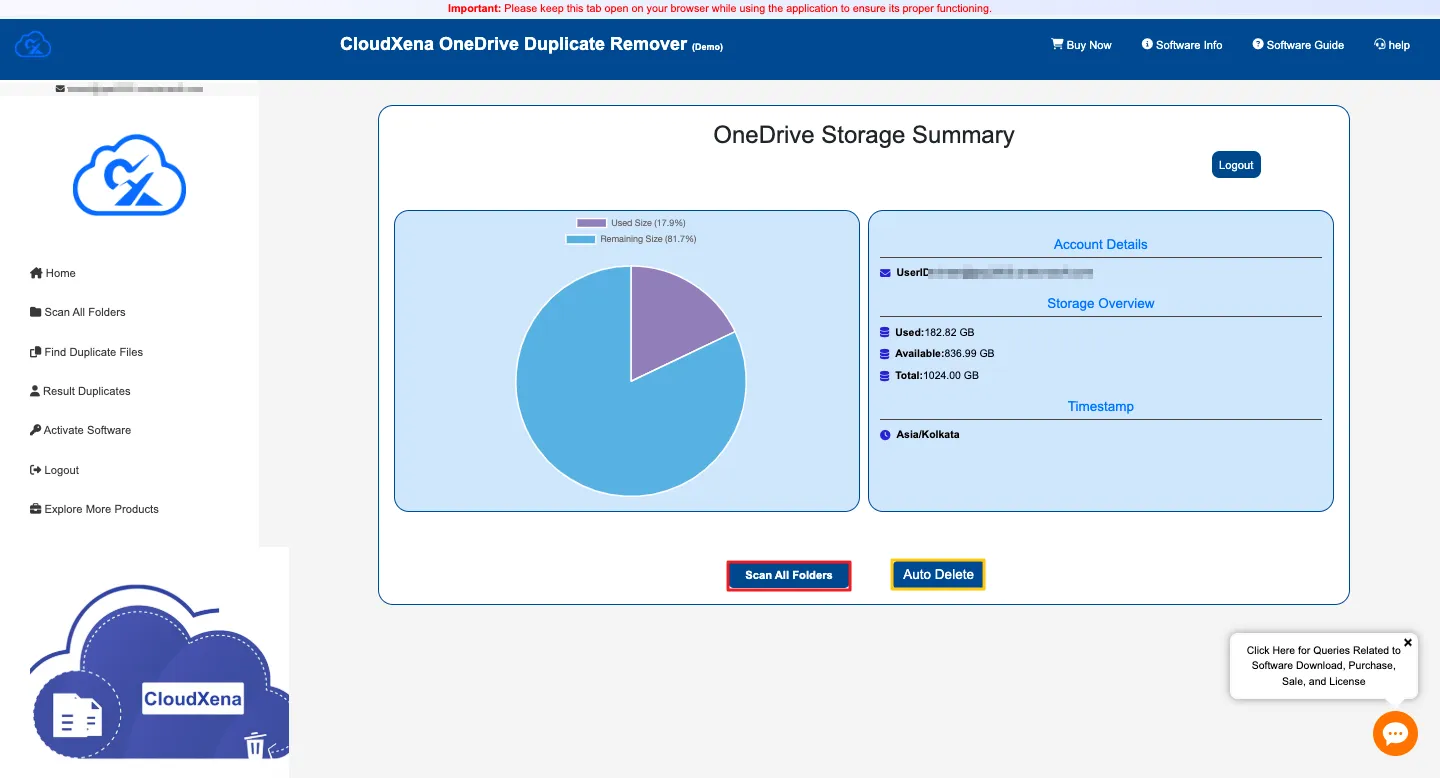
5: Then, click Scan All Folders to start analyzing your drive for duplicate files.
Note: You have two options to choose from:
- Scan All Folders: Initiates a complete scan of your entire OneDrive storage to identify duplicate files across all folders and subdirectories.
- Auto Delete: Instantly removes duplicate files based on predefined rules, allowing you to clean your storage quickly and efficiently.
6: The tool will now show a preview of all available files and folders linked to your OneDrive account.
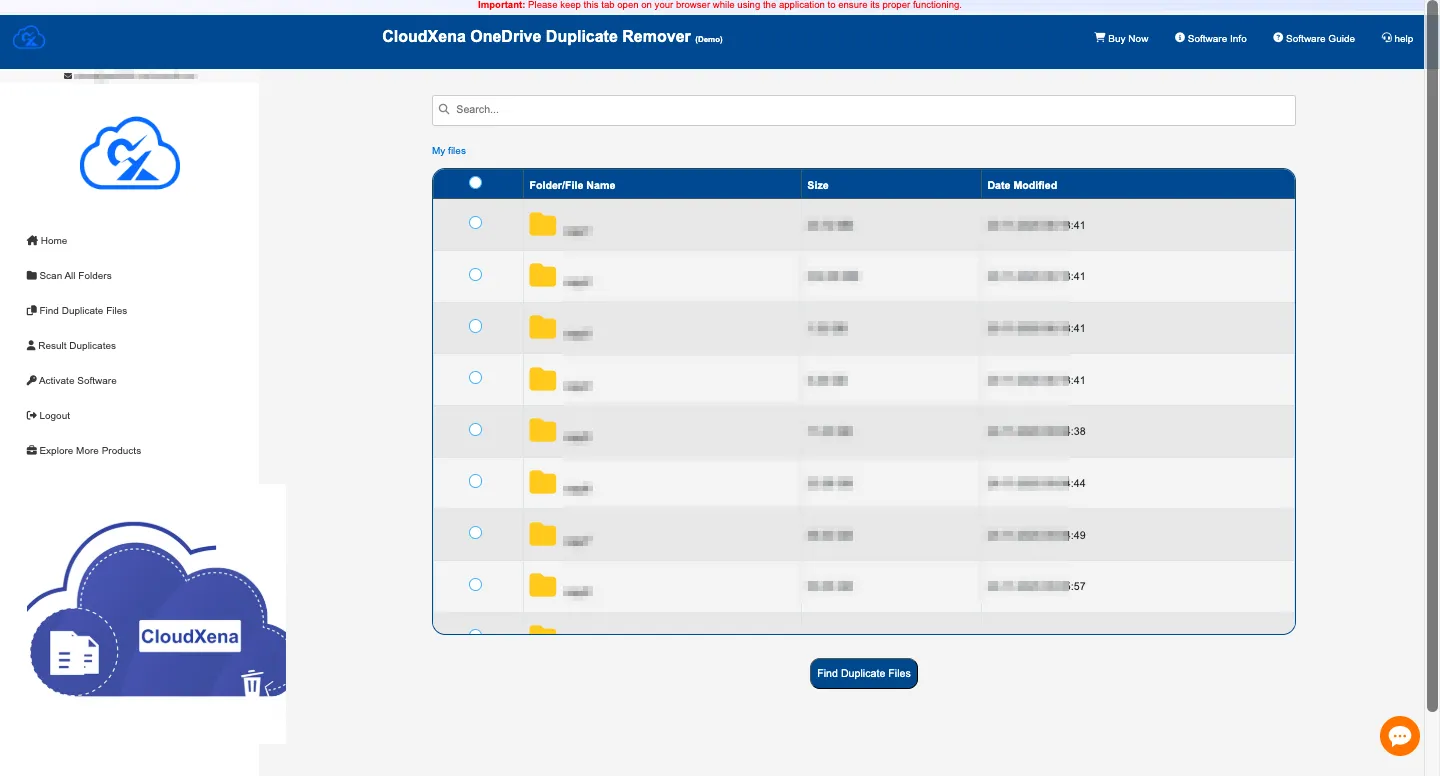
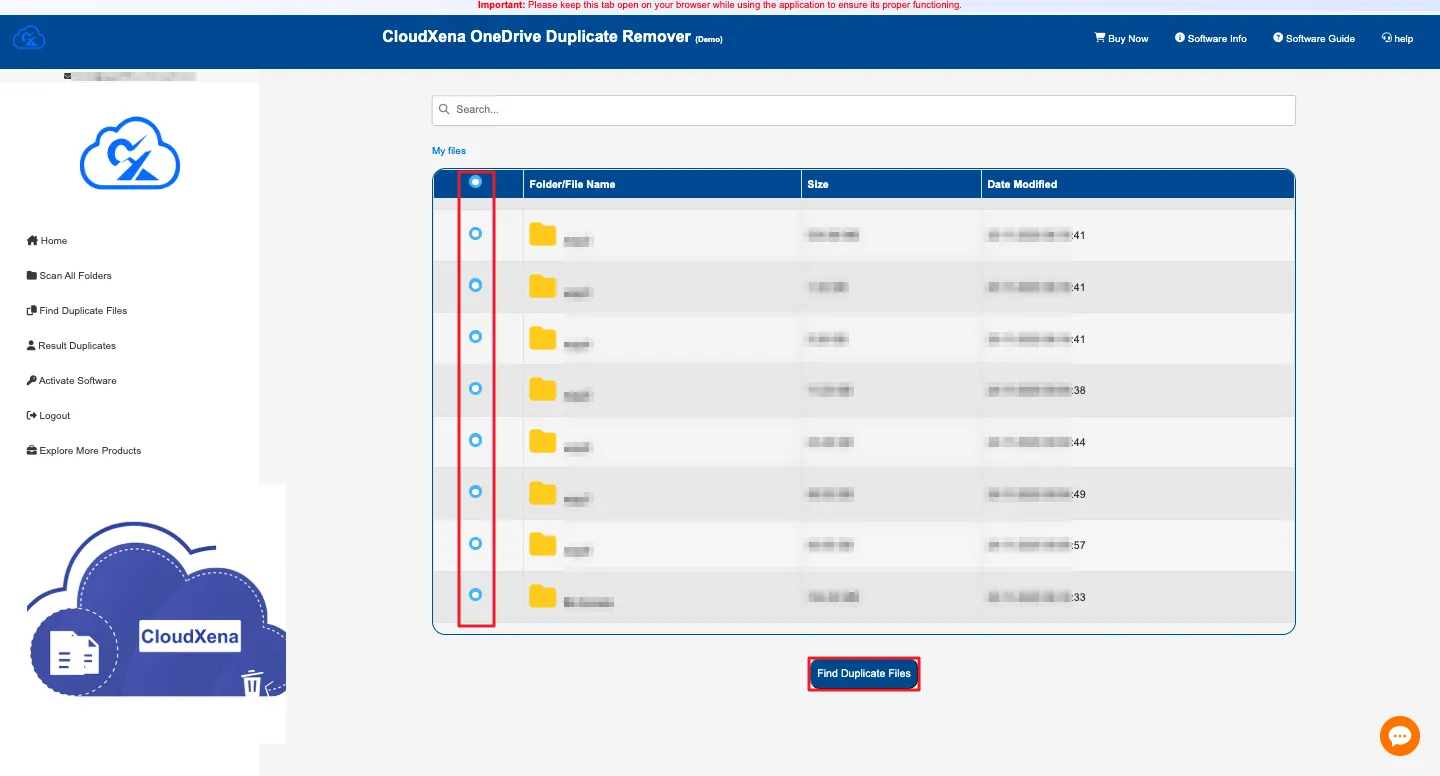
7: Select the folder or file you want to check for duplicates and click Find Duplicate Files.
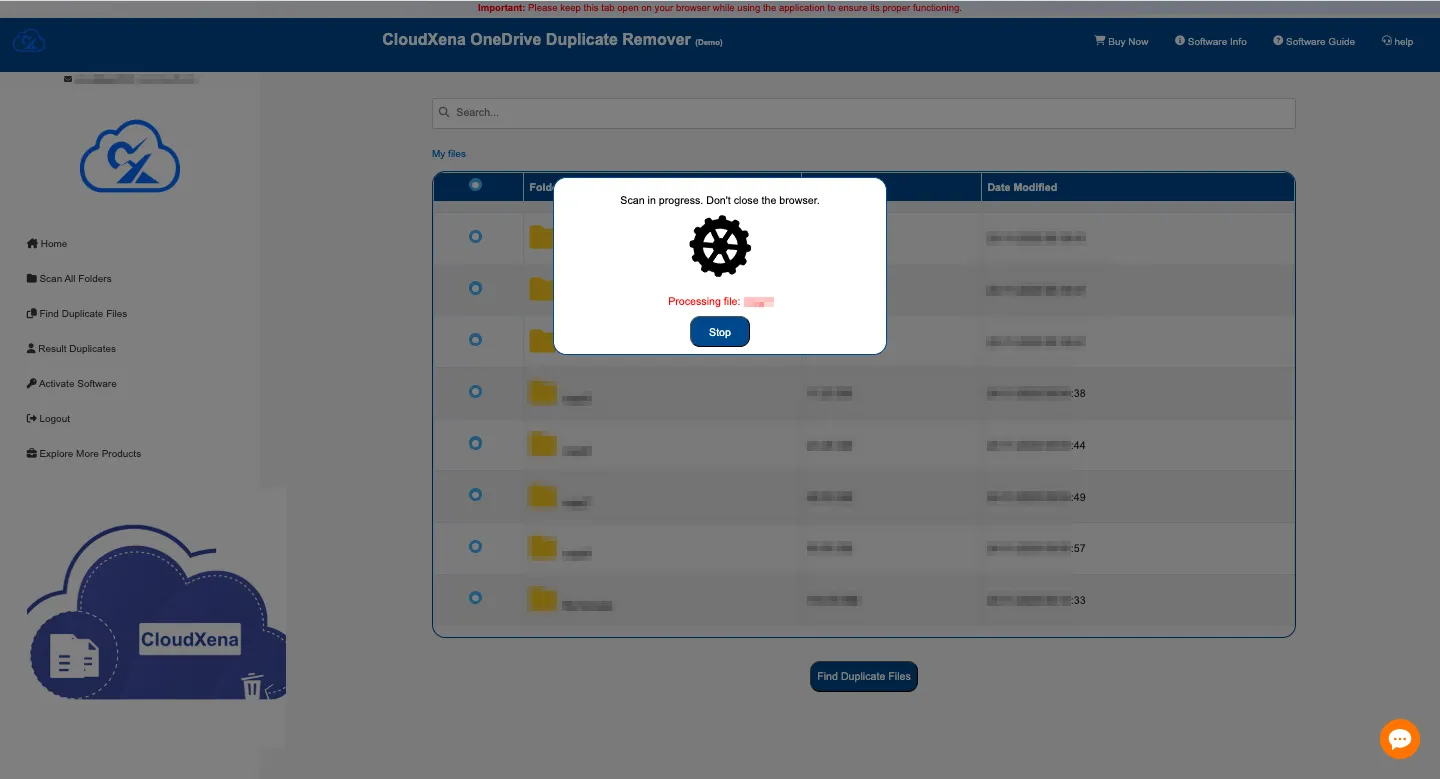
8: Wait while the software scans your selected location for duplicate items.
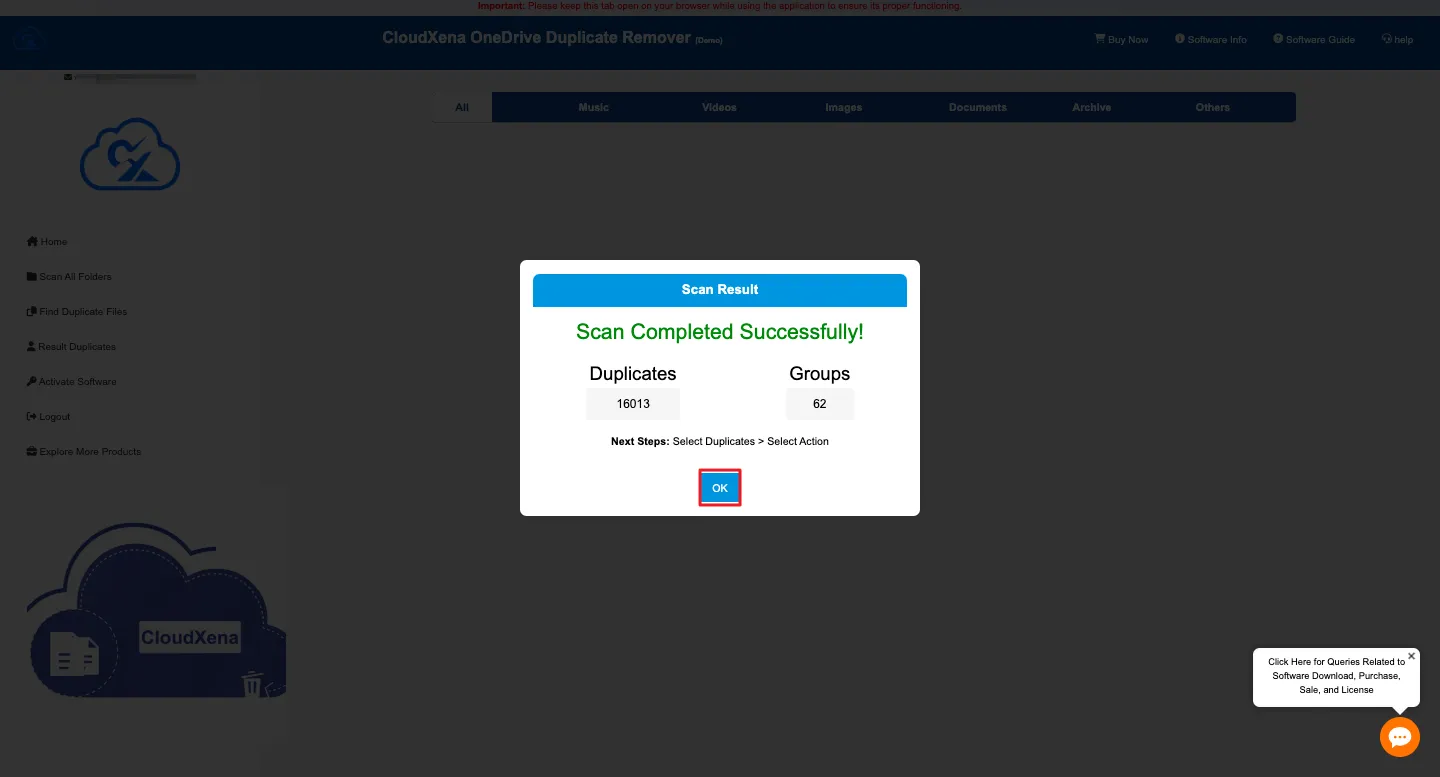
9: A pop-up will display the number of duplicate files and duplicate groups found, and click Ok.
10: All identified duplicates will appear in a separate panel for review. Use the Next and Previous buttons to move through pages if you have many files.

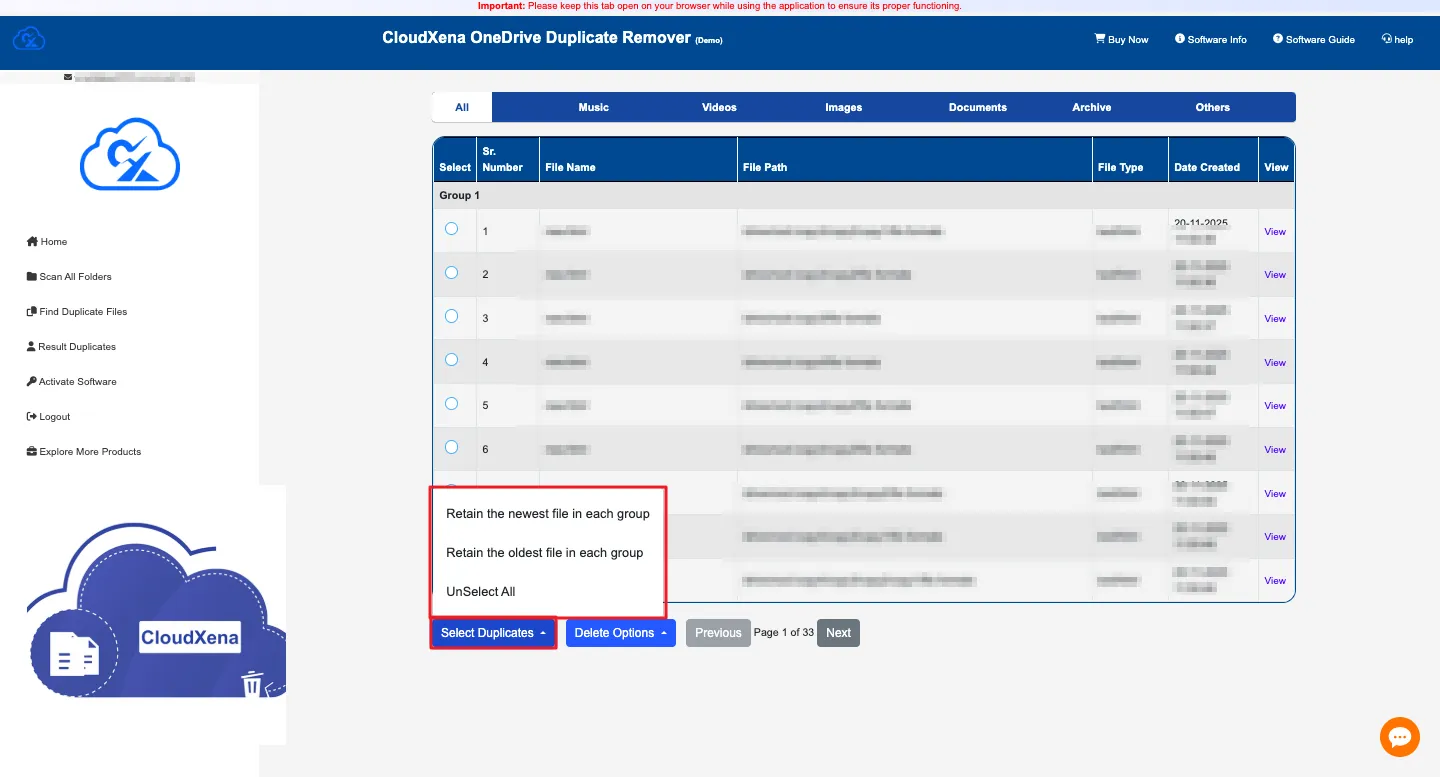
11: Under Select Duplicates, choose how you want to mark duplicates:
- Retain the Newest File in each group: Selects all older duplicates and keeps the latest version.
- Retain the Oldest File in each group: Selects all newer duplicates and keeps the original file.
- Unselect All: Clears all selected files.
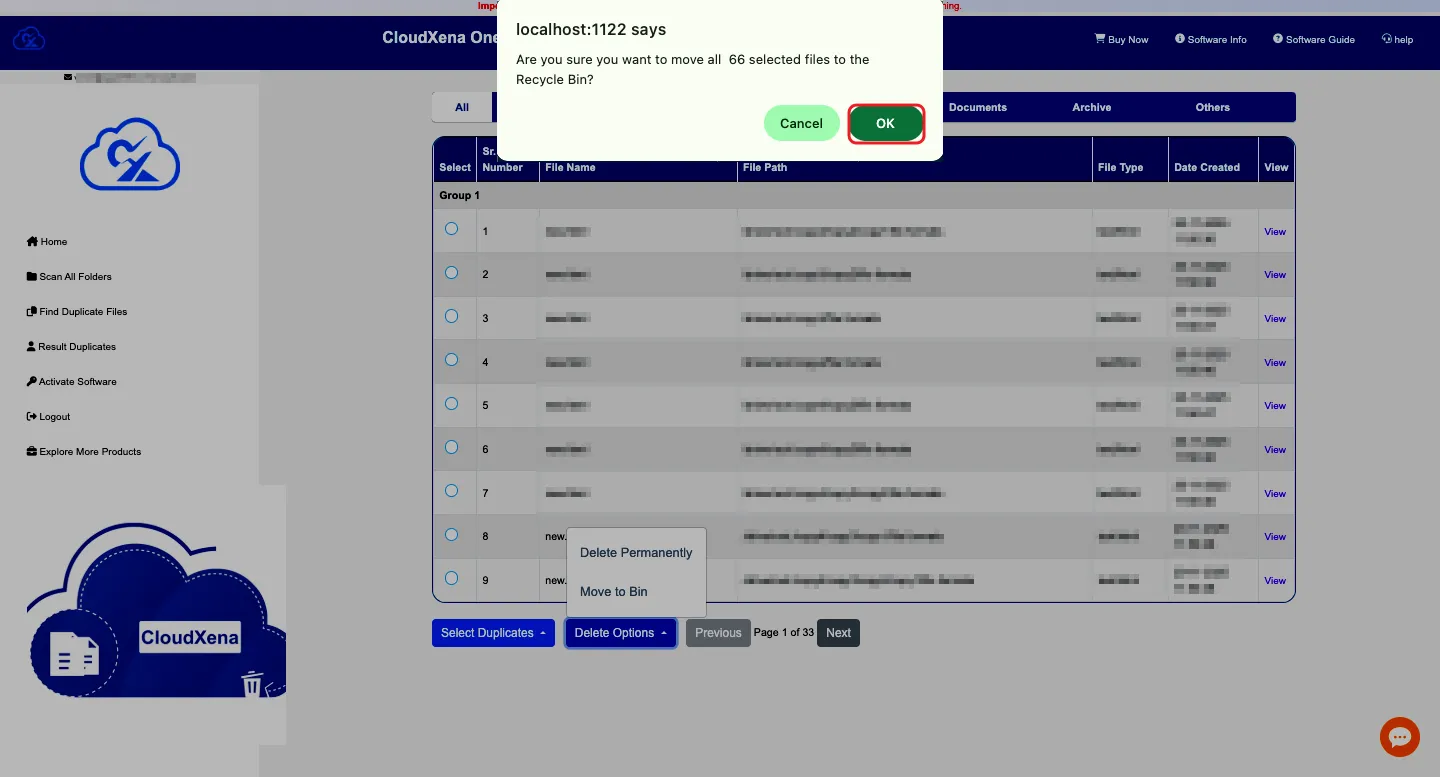
12: Choose how you want to remove the duplicates:
- Delete Permanently – Removes duplicates forever.
- Move to Bin – Sends duplicates to the bin so you can restore them later if needed.

13: A confirmation pop-up will appear. Click OK to continue with your selected action.
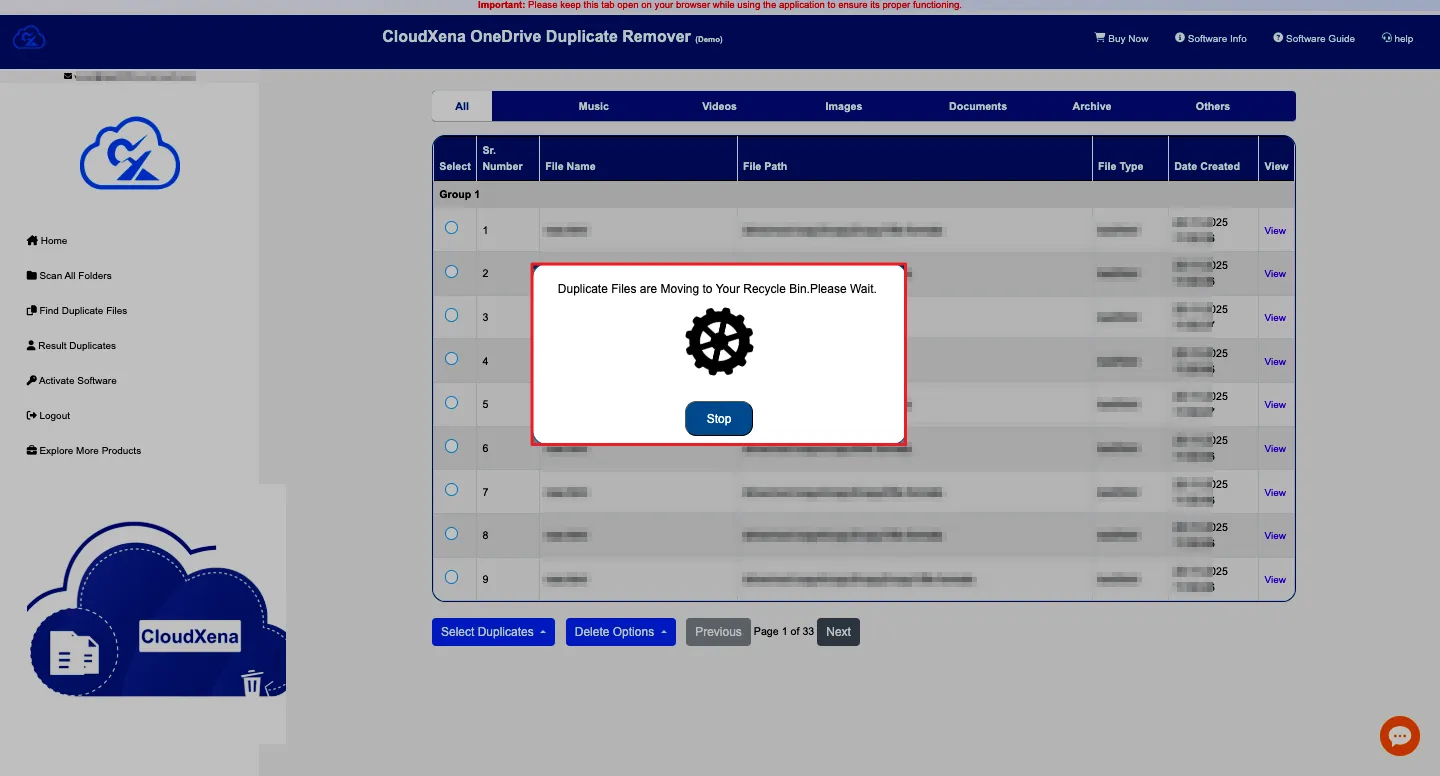
14: Allow the tool to complete the removal process. Once done, click OK.
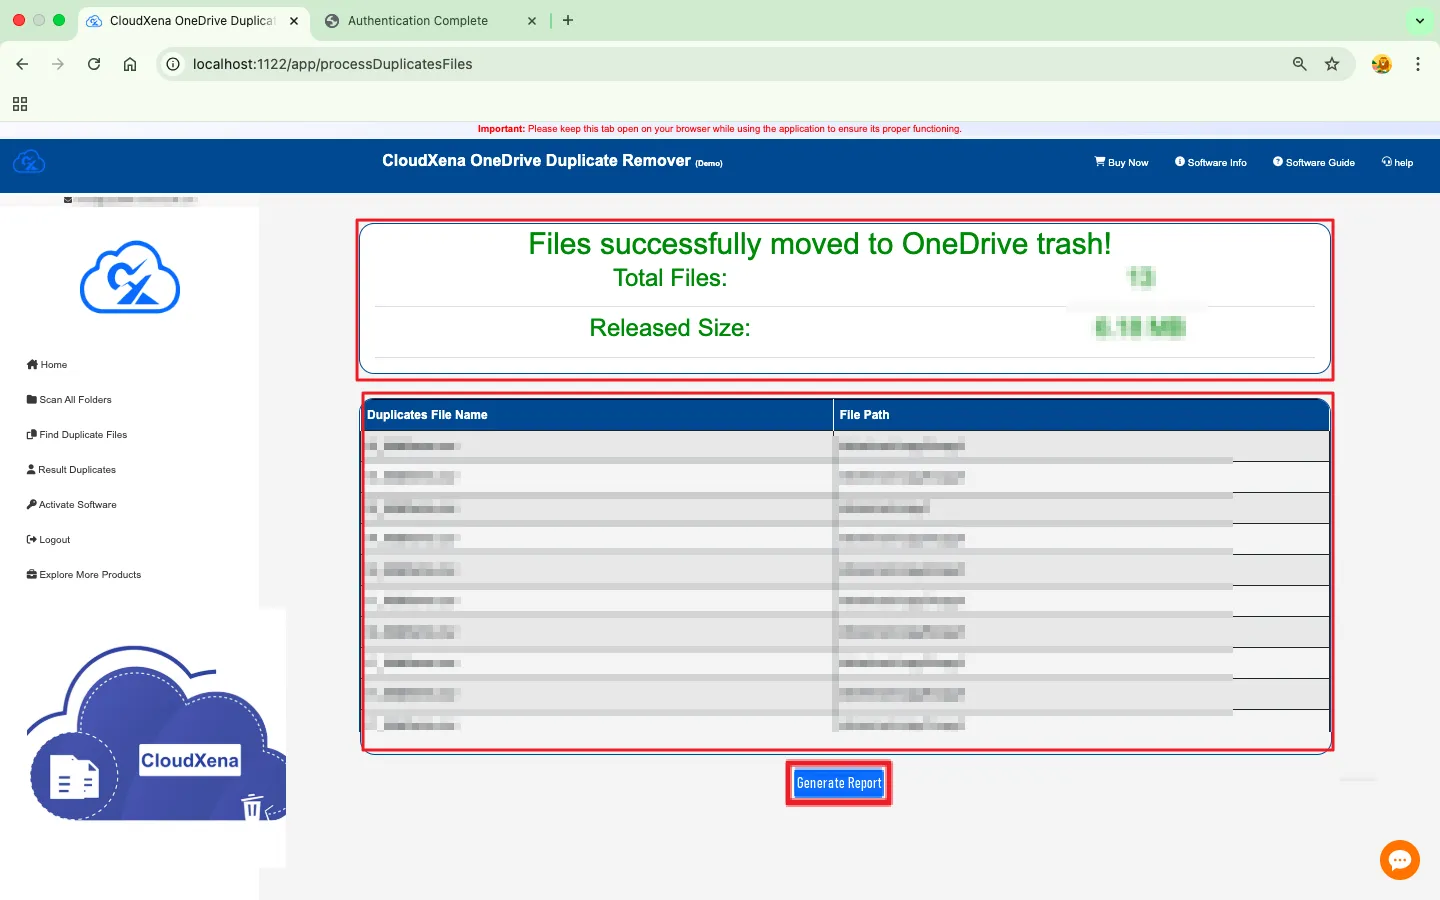
15: The software will finally show a summary of the operation:
- Total Files Removed
- Storage Space Recovered
- Duplicate File Names
- File Paths
Activate the Software
Installation & Uninstallation
Download the step-by-step installation or uninstallation PDF guides below:
Windows Installation Windows UninstallationUser Interface
As you launch the OneDrive Duplicate Tool, you will find the following interface on your screen. The tool comes with a beginner-friendly interface designed so that anyone can operate it without confusion.