- Software Working Process
- User Interface
Software Working Process
1: Download and install the CloudXena JSON File Converter, then run the tool with administrator privileges.
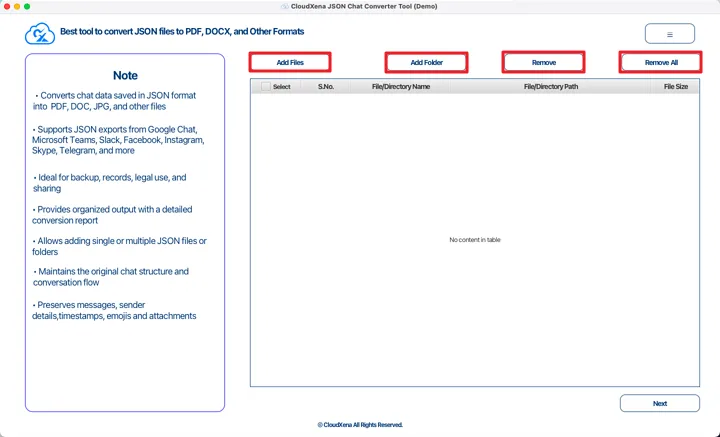
2: In this step, the CloudXena JSON Chat Converter Tool lets you add and manage your JSON files before moving forward.
- Add Files: Use this option to select and add individual JSON files from your system. It’s useful when your data is stored as separate files.
- Add Folder: Choose this button if your JSON files are saved inside a folder. It allows you to add all files from the selected directory at once.
- Remove: This option helps you remove a selected file or folder from the list in case you added something by mistake.
- Remove All: Click this to clear the entire list and start fresh if needed.
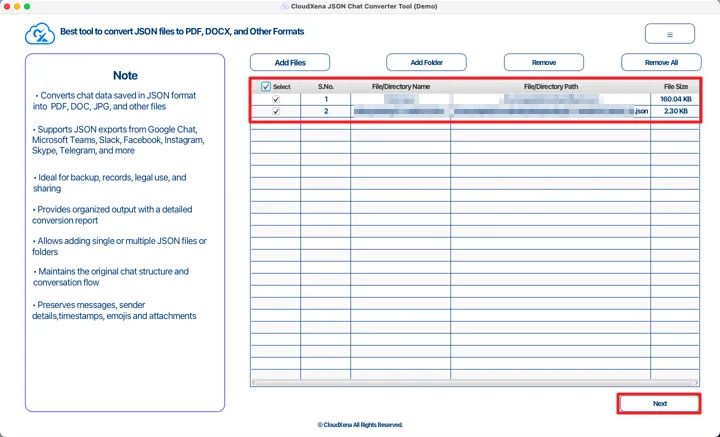
3: After adding the JSON files, select the files you want to convert by ticking the checkbox in the Select column. You can choose one file or multiple files, depending on your needs. Once the required files are selected and reviewed in the list, click Next to continue.
4: In this step, select the file format you want to convert the JSON data into from the Select File Format list. Options like PDF, DOCX, CSV, HTML, PNG, TIFF, and others are available.
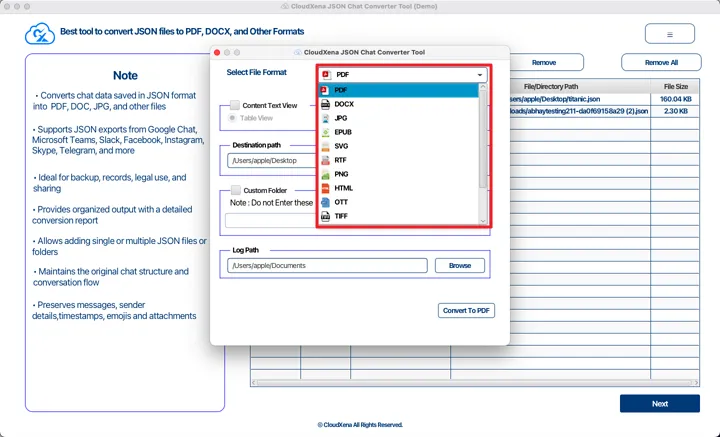
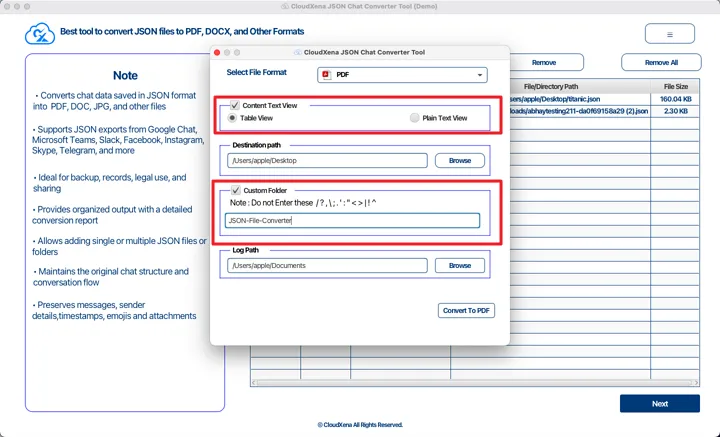
5: After this, you’ll see two filter options for customization:
- Content Text View: This option lets you choose how the JSON data should appear after conversion. You can display the content in Table View or Plain Text View. This setting is available only when converting to PDF, DOCX, or RTF formats.
- Custom Folder: Use this option to assign a custom name to the output folder so files are easier to identify. Please note that spaces and special characters are not allowed in the folder name.
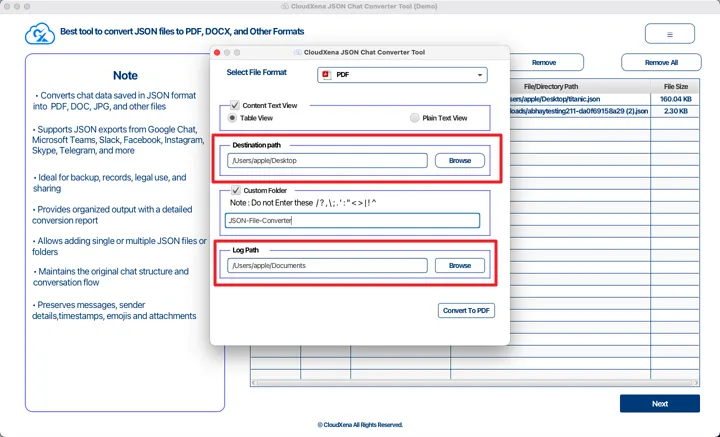
6: In this step, choose where you want the converted file to be saved.
- Destination Path: Select the folder where the output file will be stored. You can browse and pick any location on your system.
- Log Path: Choose a location to save the conversion log file. This file records details of the conversion process for later reference.
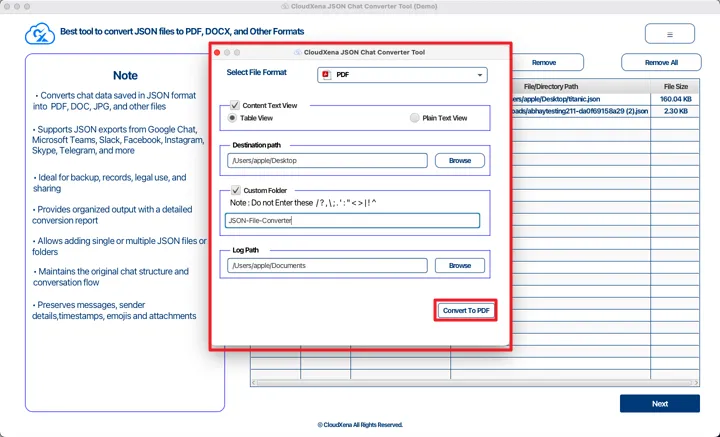
7: Once all the required options are set, click the Convert button at the bottom of the window. This action starts the conversion process using the selected format, view type, and destination settings.
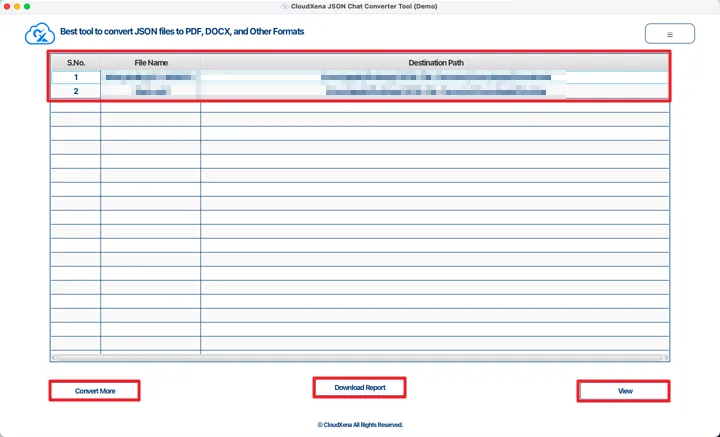
8: After the process finishes, click Download Report to save the CSV file with conversion details. If you want to run another conversion, select Convert More. To open the location where the CSV file is saved, simply click View.
Activate the Software
Installation & Uninstallation
Download the step-by-step installation or uninstallation PDF guides below:
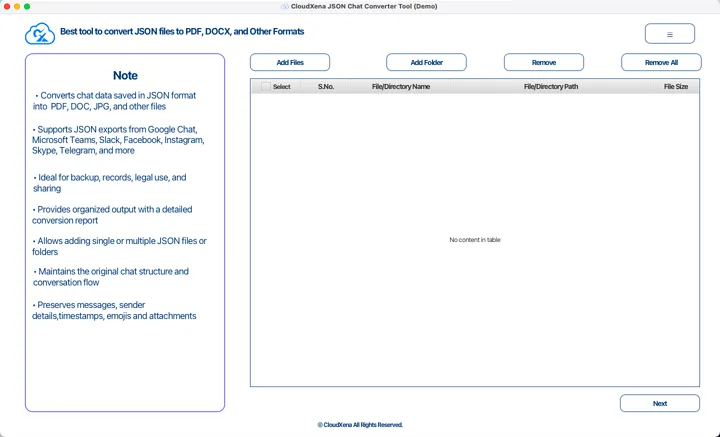
Windows Installation Windows UninstallationUser Interface
Once you launch the CloudXena JSON File Converter, you will see the following interface.